


Step by step build of a Spitfire plastic model kit in 1/48 scale.
Piotr "Słoma" Słomiński needs no introduction. A great modeller, best known for his very detailed airplane and warship model kits, build a kit for us this time! It is a Spitfire Mk.IX in 1/48 scale, made by Eduard. Read the first part of our step by step build guide, where this experienced modeller shares with you some of his techniques:
Spitfire Mk.IXc in 1/48 scale, made by Eduard is a well known model kit that's also well liked by modellers. Personally I consider it to be one of those "selfbuilding" kits. Making it in a out of the box manner will result in a very nice miniature. Of course there will be some modellers that would like to improve the kit by making some parts themselves or using detail sets (which Eduard also produces), though in this case I will stick to the parts we get in a profipack variant of the kit.
Phase I - Building and painting of the cockpit
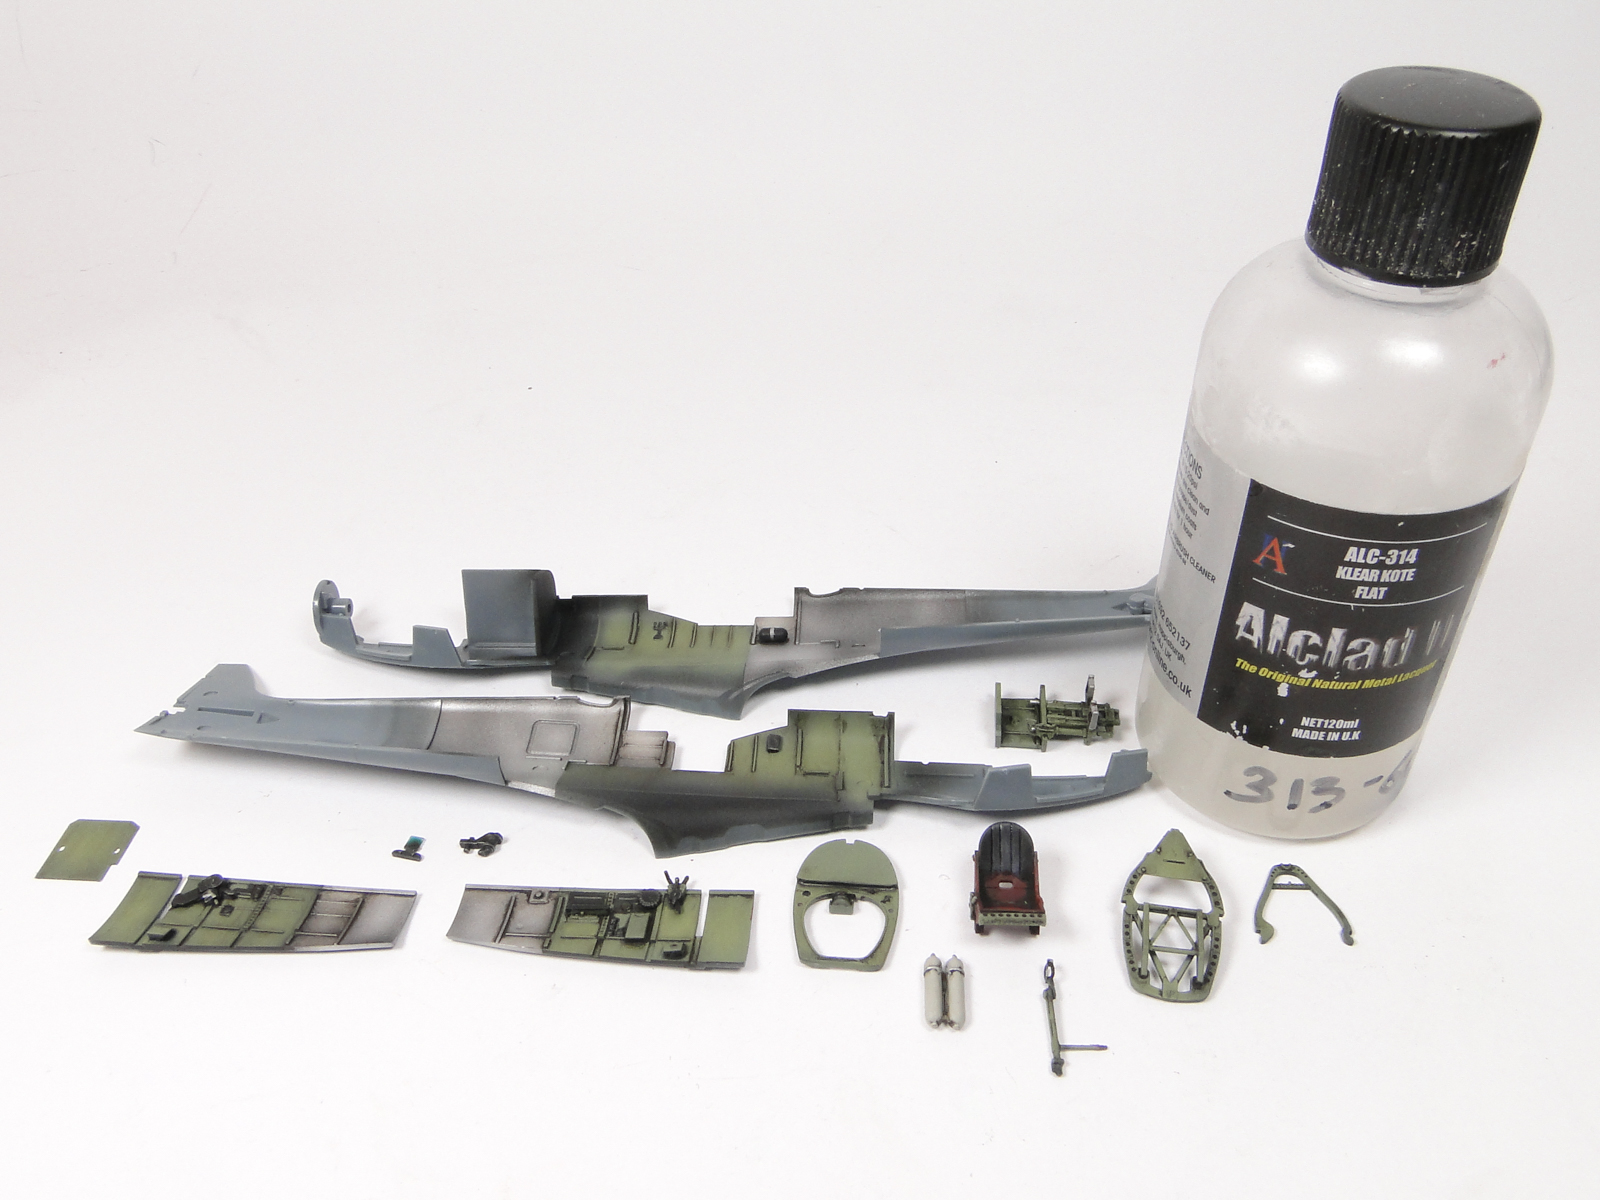
I was very enthusiastic to start building this kit. I begun as the instructions suggested - from the cockpit. To avoid constant airbrush cleaning, I cut out and prepared most of the elements so that I could paint all the parts in a given colour in one go. The coloured photoetched parts that are included were left out and glued on the finished plastic parts.

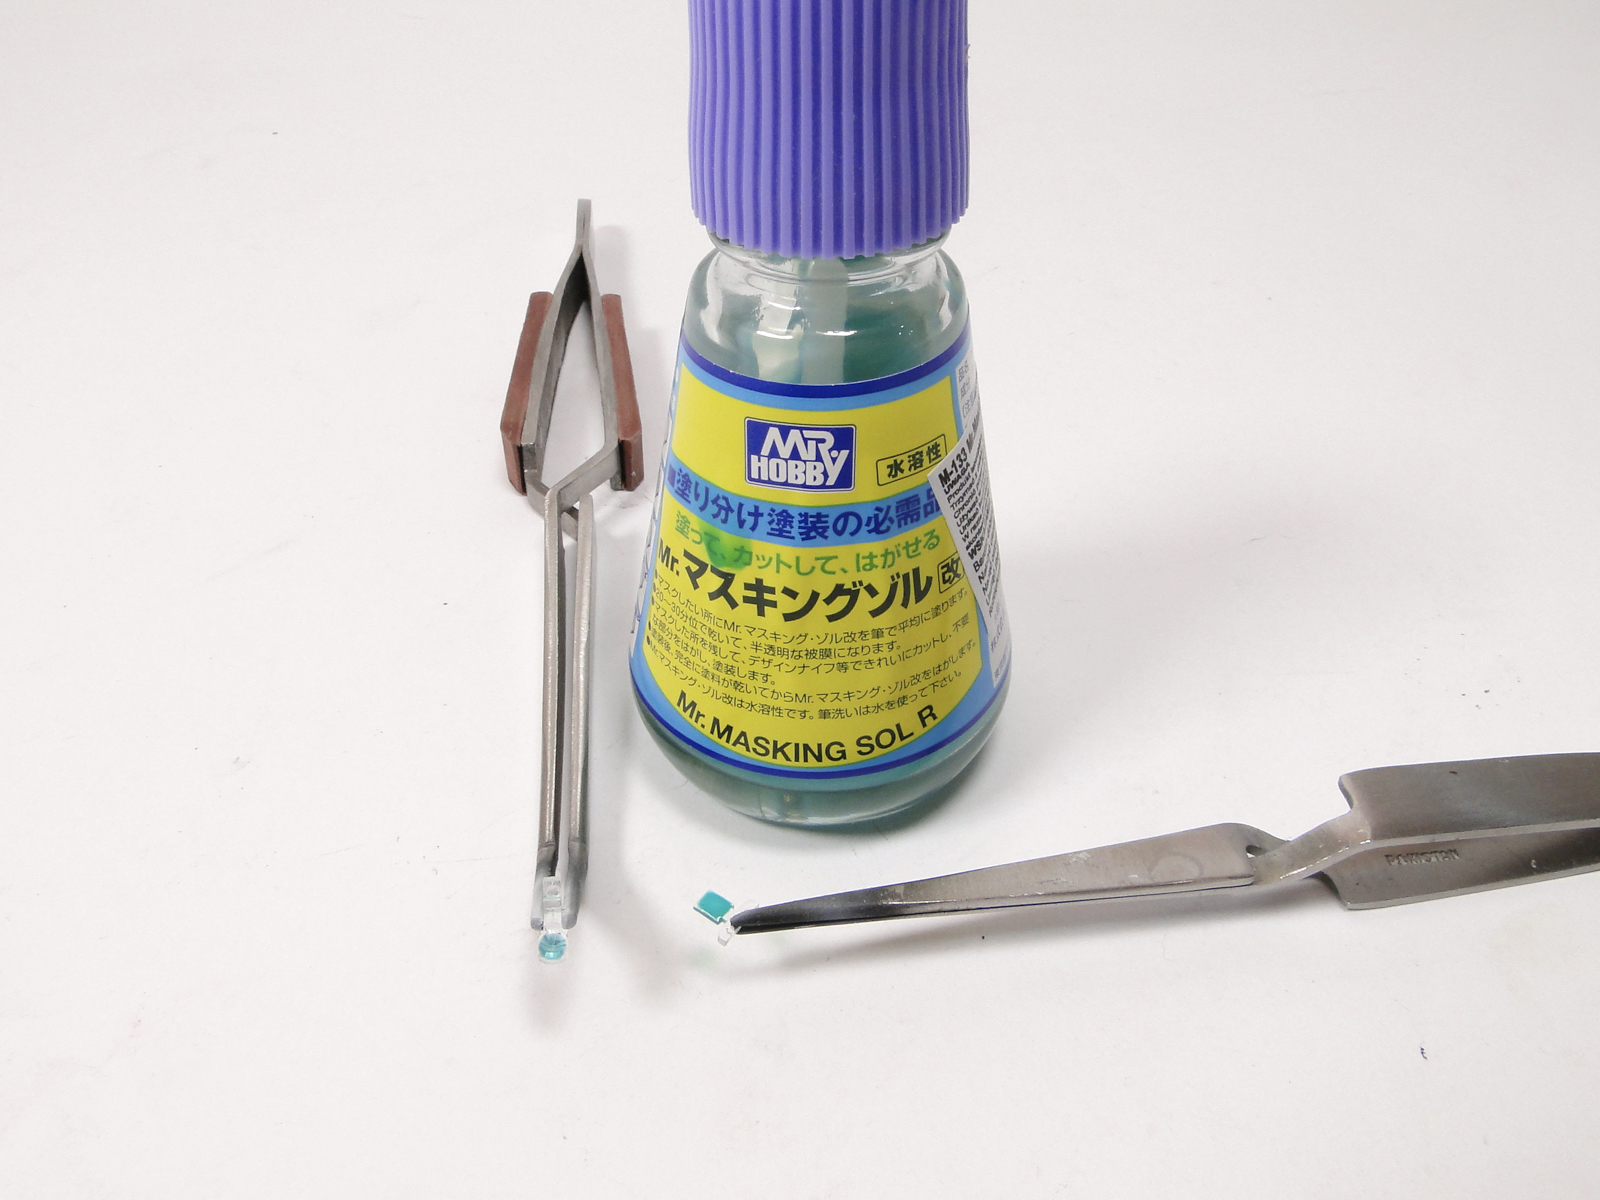
Sight parts made of clear plastic were masked in proper places with a masking fluid.
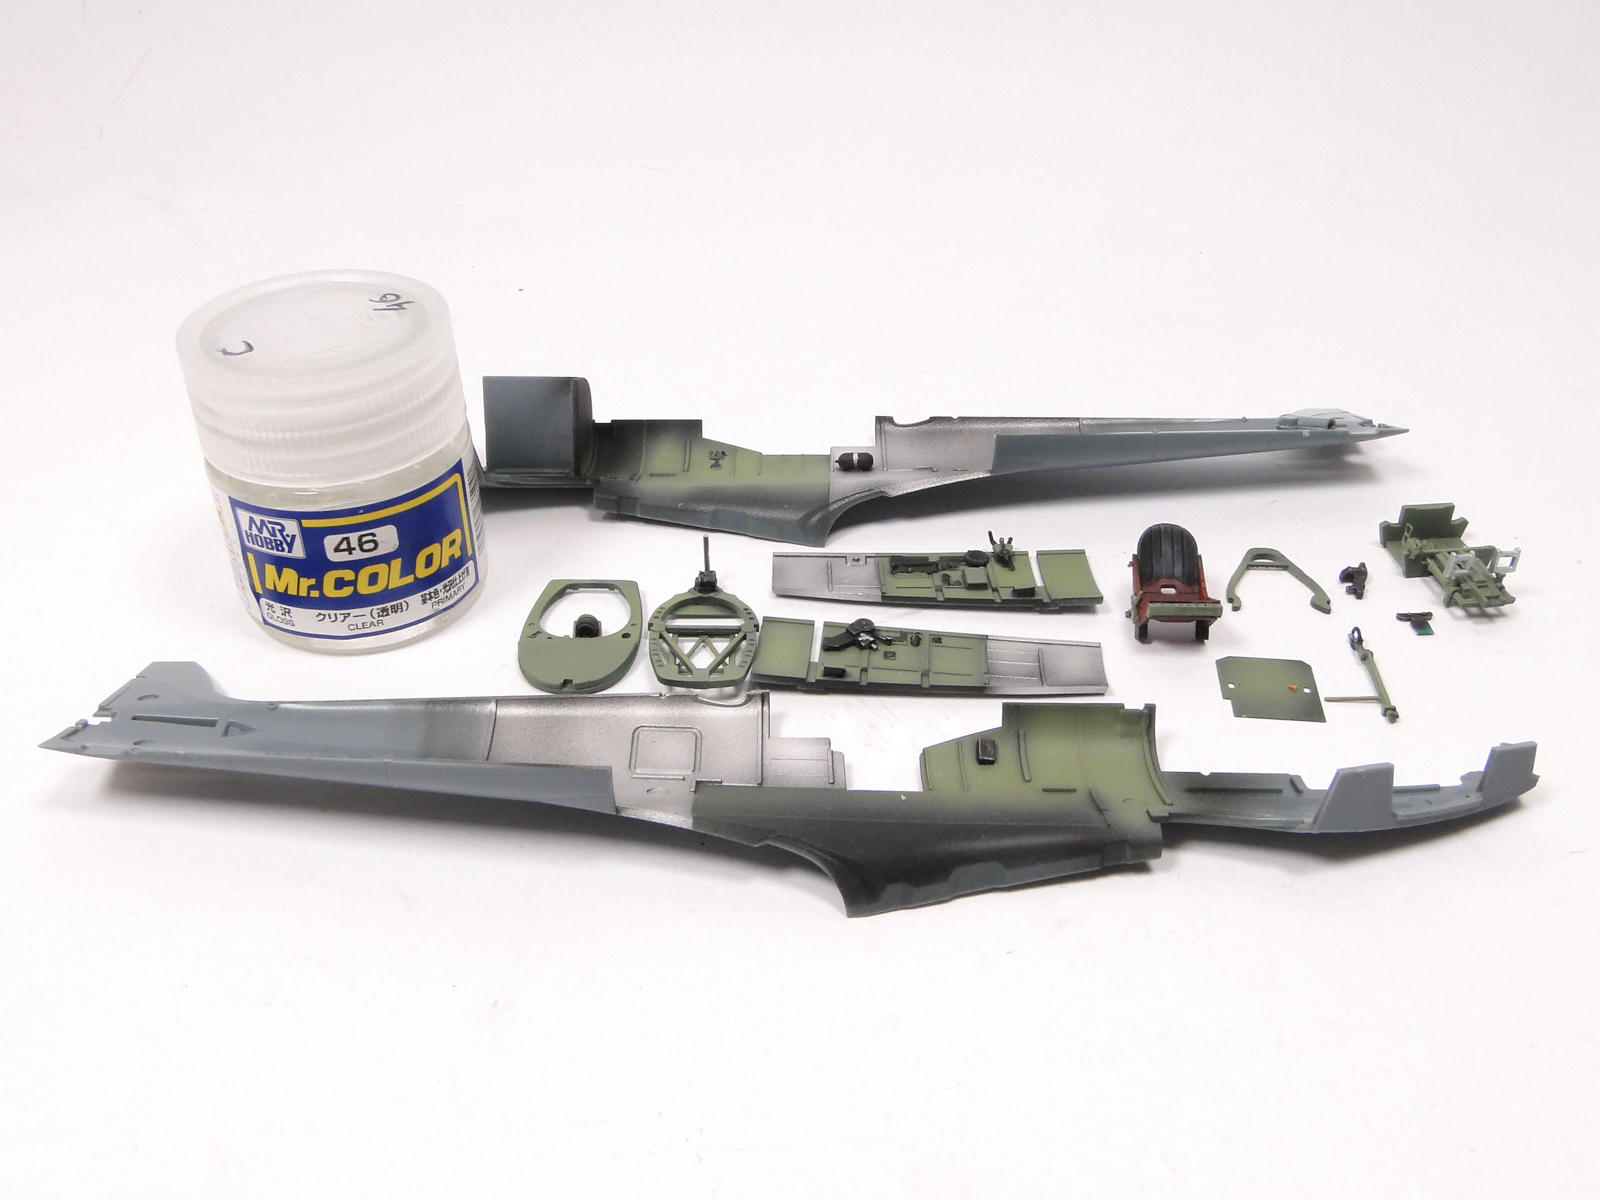
Firstly, I painted the cockpit parts with a black colour. I used it both as a primer and a base for creating shadows with further colours. For this I used Mr. Hobby C033 Flat Black


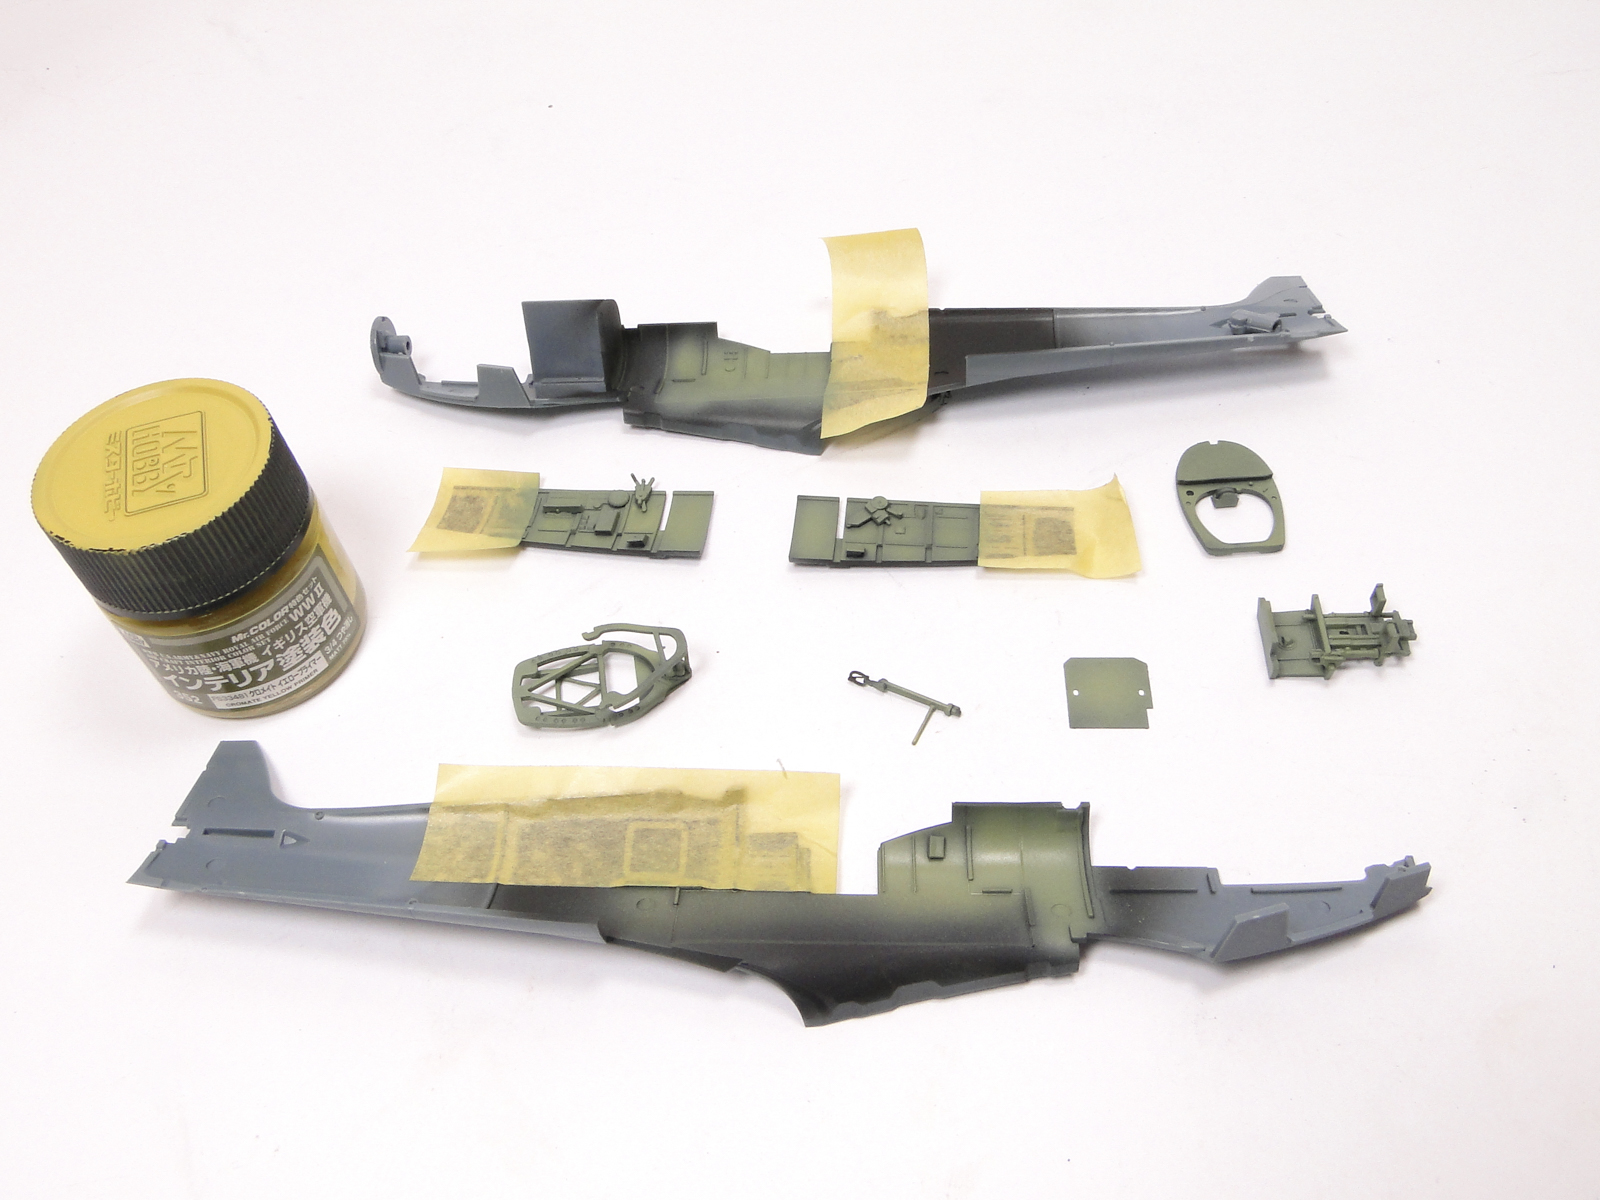
Next, I sprayed the main cockpit colour - British gray-green, as instruction recommends Mr. Hobby C364 Aircraft Gray Green. Before I started painting though, I masked off the areas that were to be painted in aluminium colour later.

I painted with an airbrush, from the center of the panel outwards, to create a nice lighting effect.


To finish the effect, I didn't clean the airbrush's paint cup and added there some heavily diluted Mr. Hobby C352 Chromate Yellow Primer and did some highlights on the panels center. All this steps created a very convincing lighting effect.
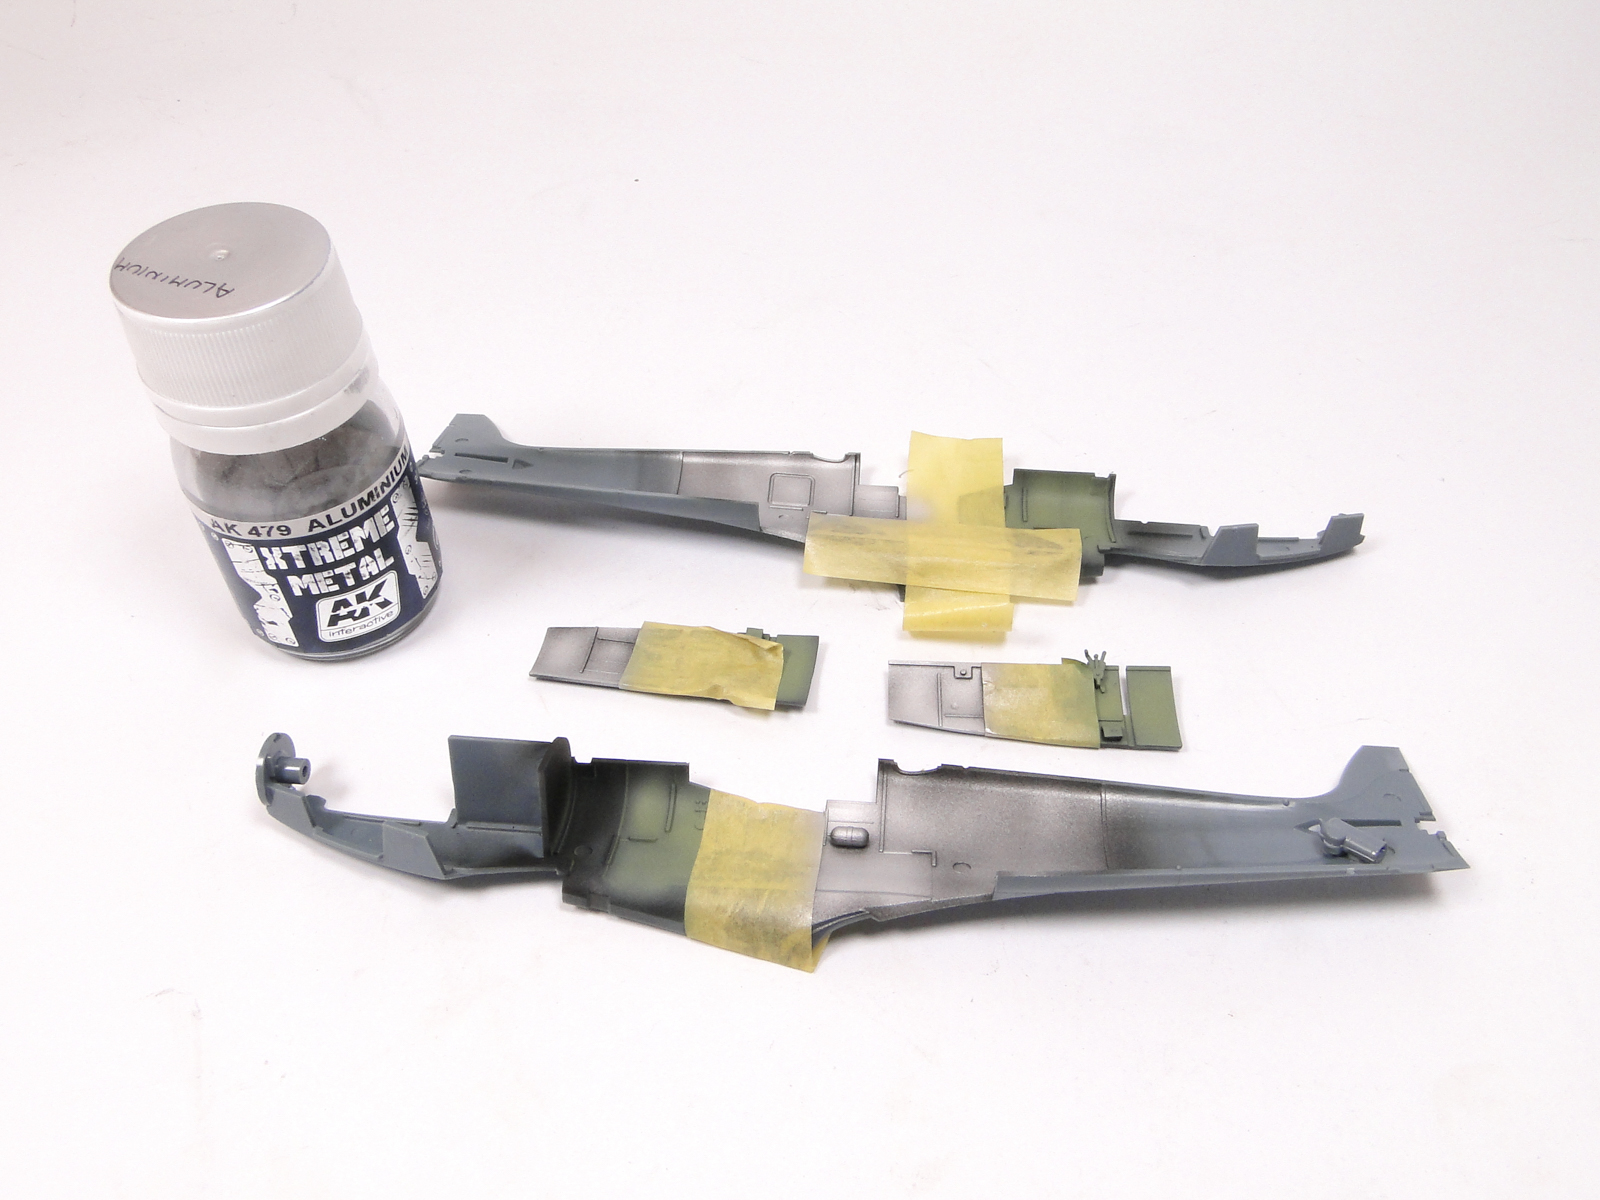
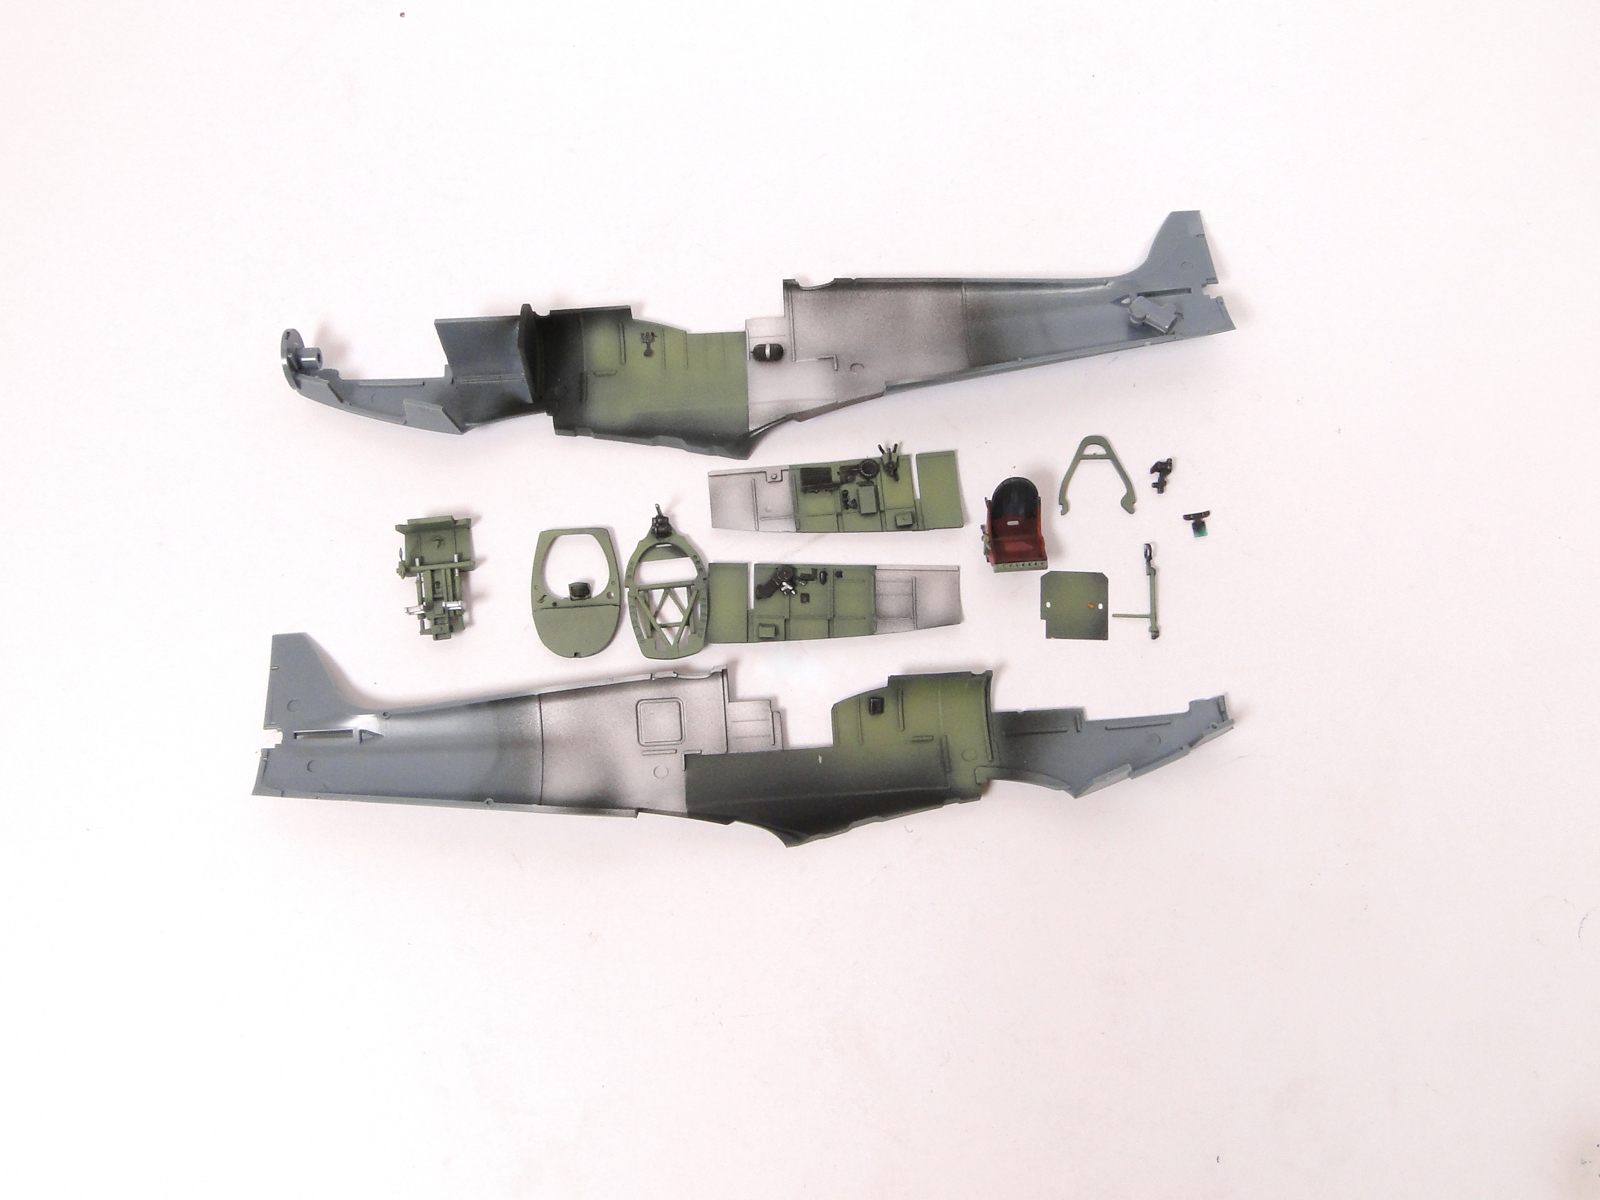
After the paint dried I masked the painted areas and unmasked the places for painting in aluminium color. To paint them, I used AK Interactive Xtreme Metal 479 Aluminium paint
Next up was painting of all the small details in the cockpit. I did it using a fine paintbrush.

To add some depth to those details I used simple drybrushing technique. I dipped the paintbrush in the paint, then wipe it off on a paper towel untill there is barely any pigment left. I used metallic colour for this.
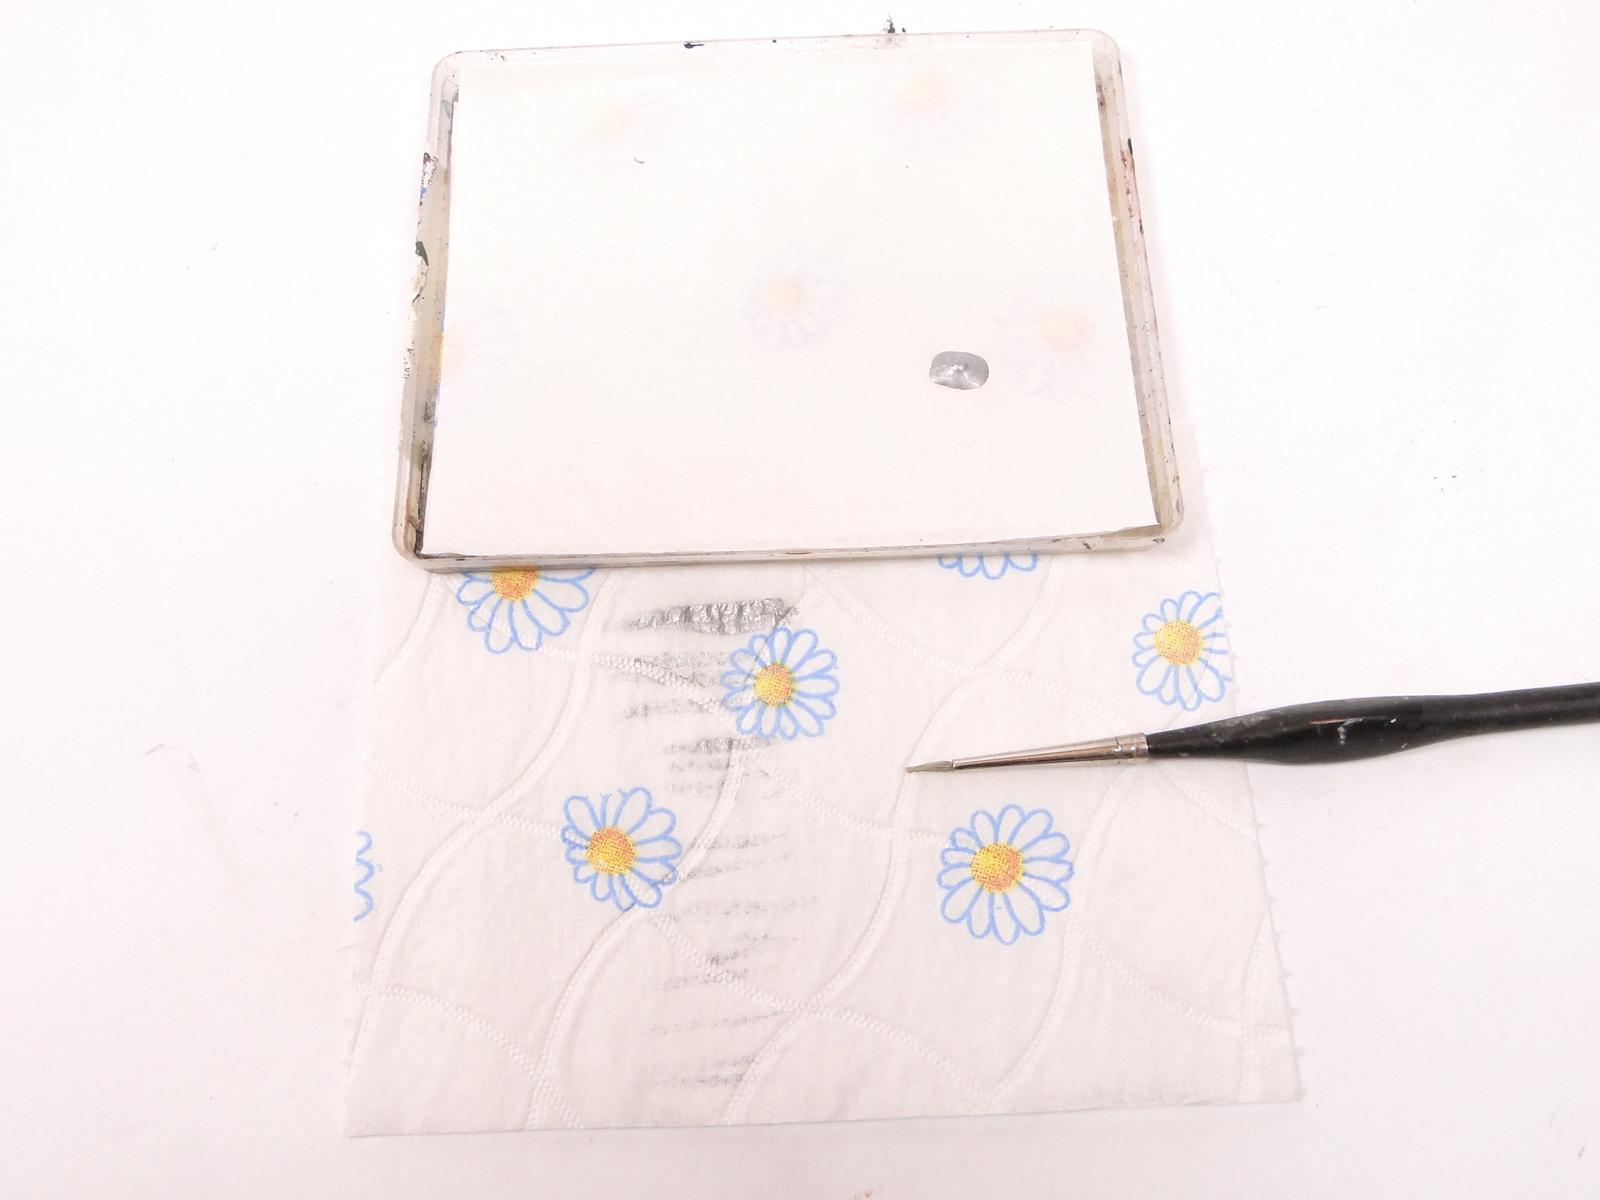
Then you have to gently stroke the parts with brush leaving the pigment only on the edges and raised details. It's best to do it lightly, controlling the intensity of the effect as to not overdo it. It's only to accent the details, not to completely paint the parts.
Then I sealed the painted surfaces with a gloss varnish. Thanks to this, in the next step I could use an enamel wash which will finish the interior's weathering without risk of damaging the paint.
When the varnish dried I used the wash in the recesses. For this Ammo MiG Panel Line Wash Deep Brown 1618 was used
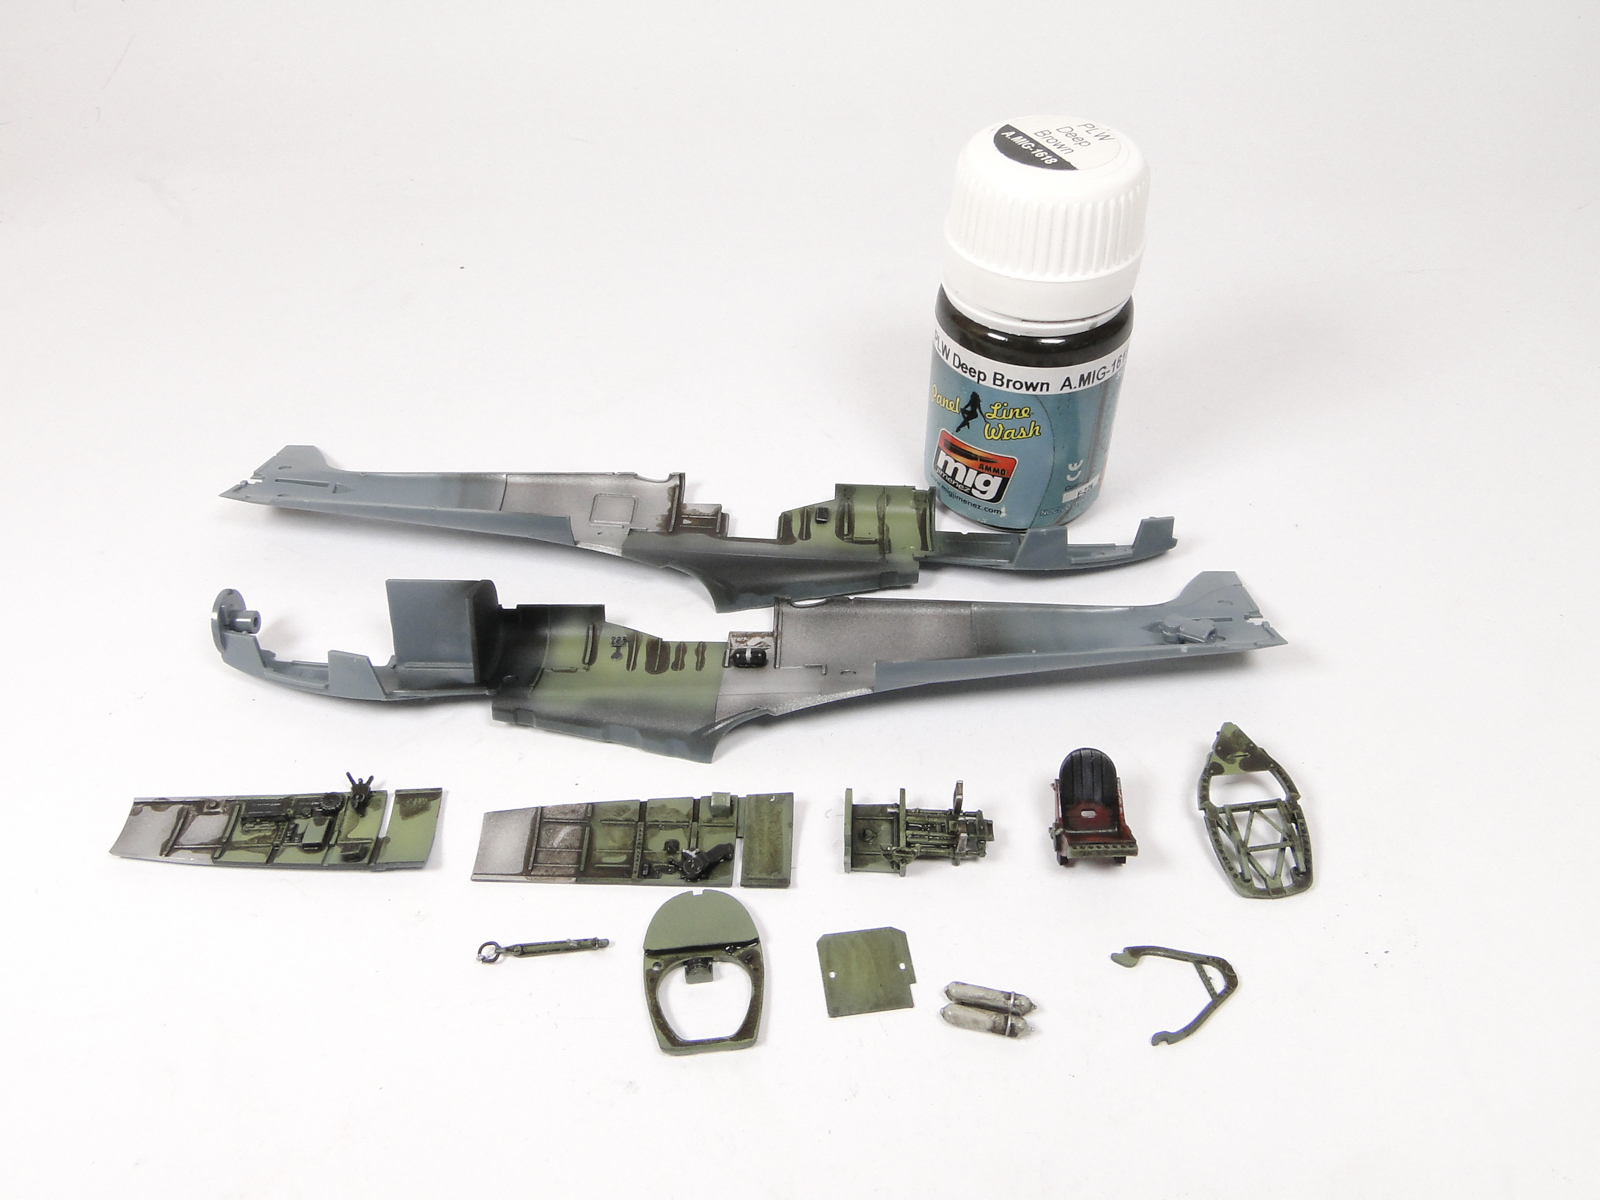
Any excess was wiped off using cotton bud, so the wash remained only in the desired places like corners and recesses of the cockpit.
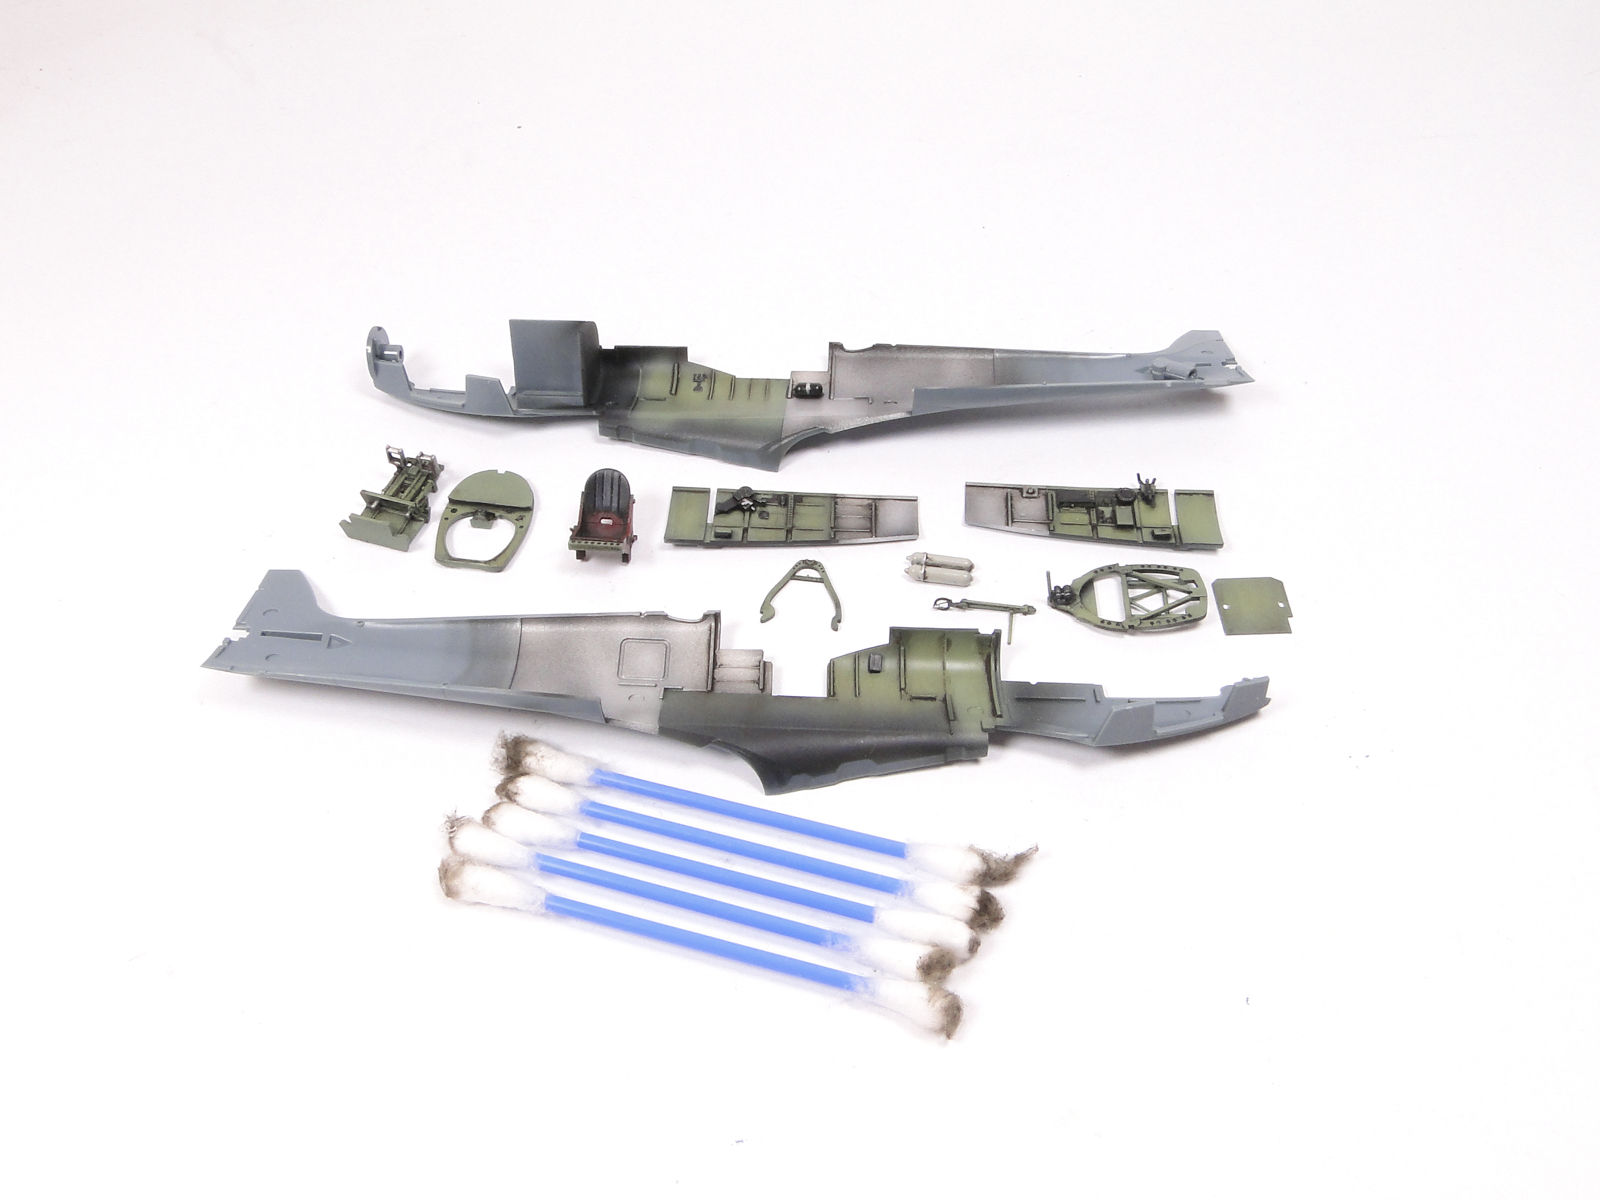

When I was happy with the result I sealed off everything with a matt Alclad varnish.
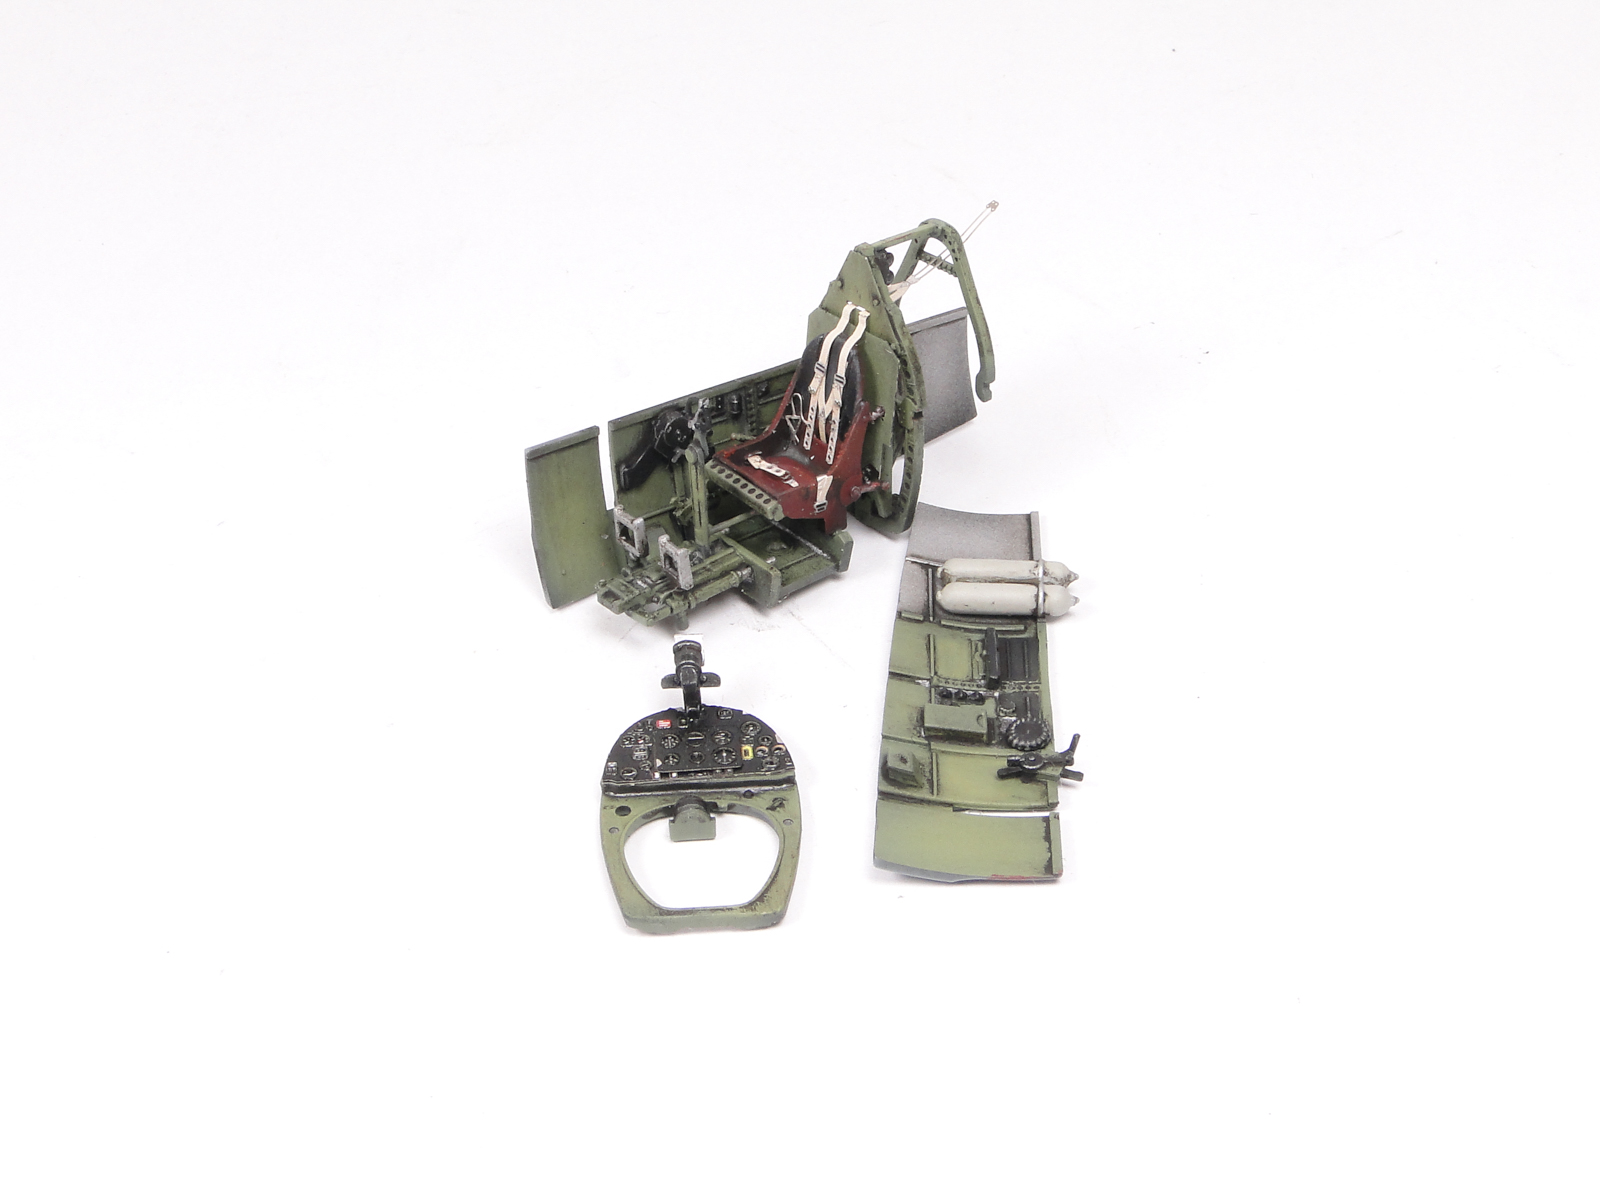
Everything was prepared by now and I could start putting the cockpit together. At this point you have to remember to glue the instrument panel, seatbelts and other small details in a form of coloured PE parts.
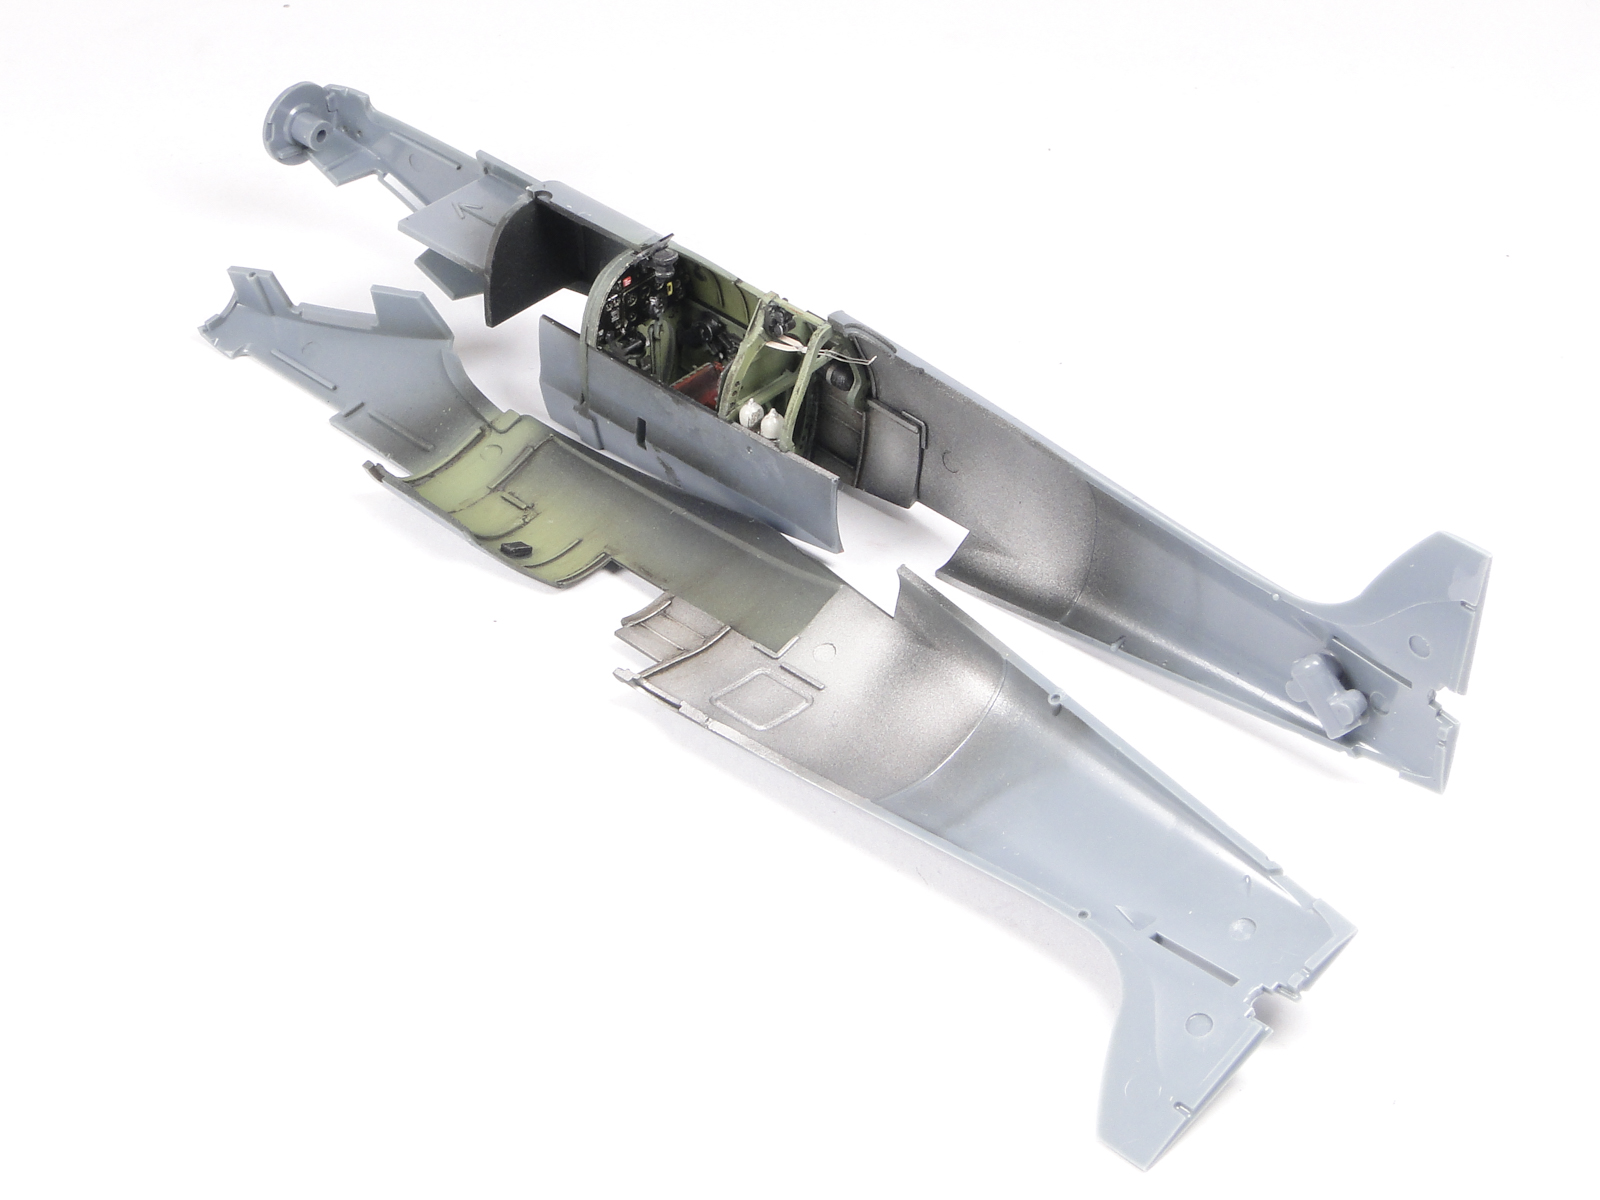
I checked the fit of the parts and as everything was perfect I could glue the fuselage halves together. After the glue dried, light sanding was enough to make the seam disappear. No putty was required.


For now I left the fuselage alone. Manual tell us to build the wings next. First step was to glue in a spar in the wing's lower half that is a strengthening piece as well as a part of wheel wells...

...which we finish by gluing the remaining elements.
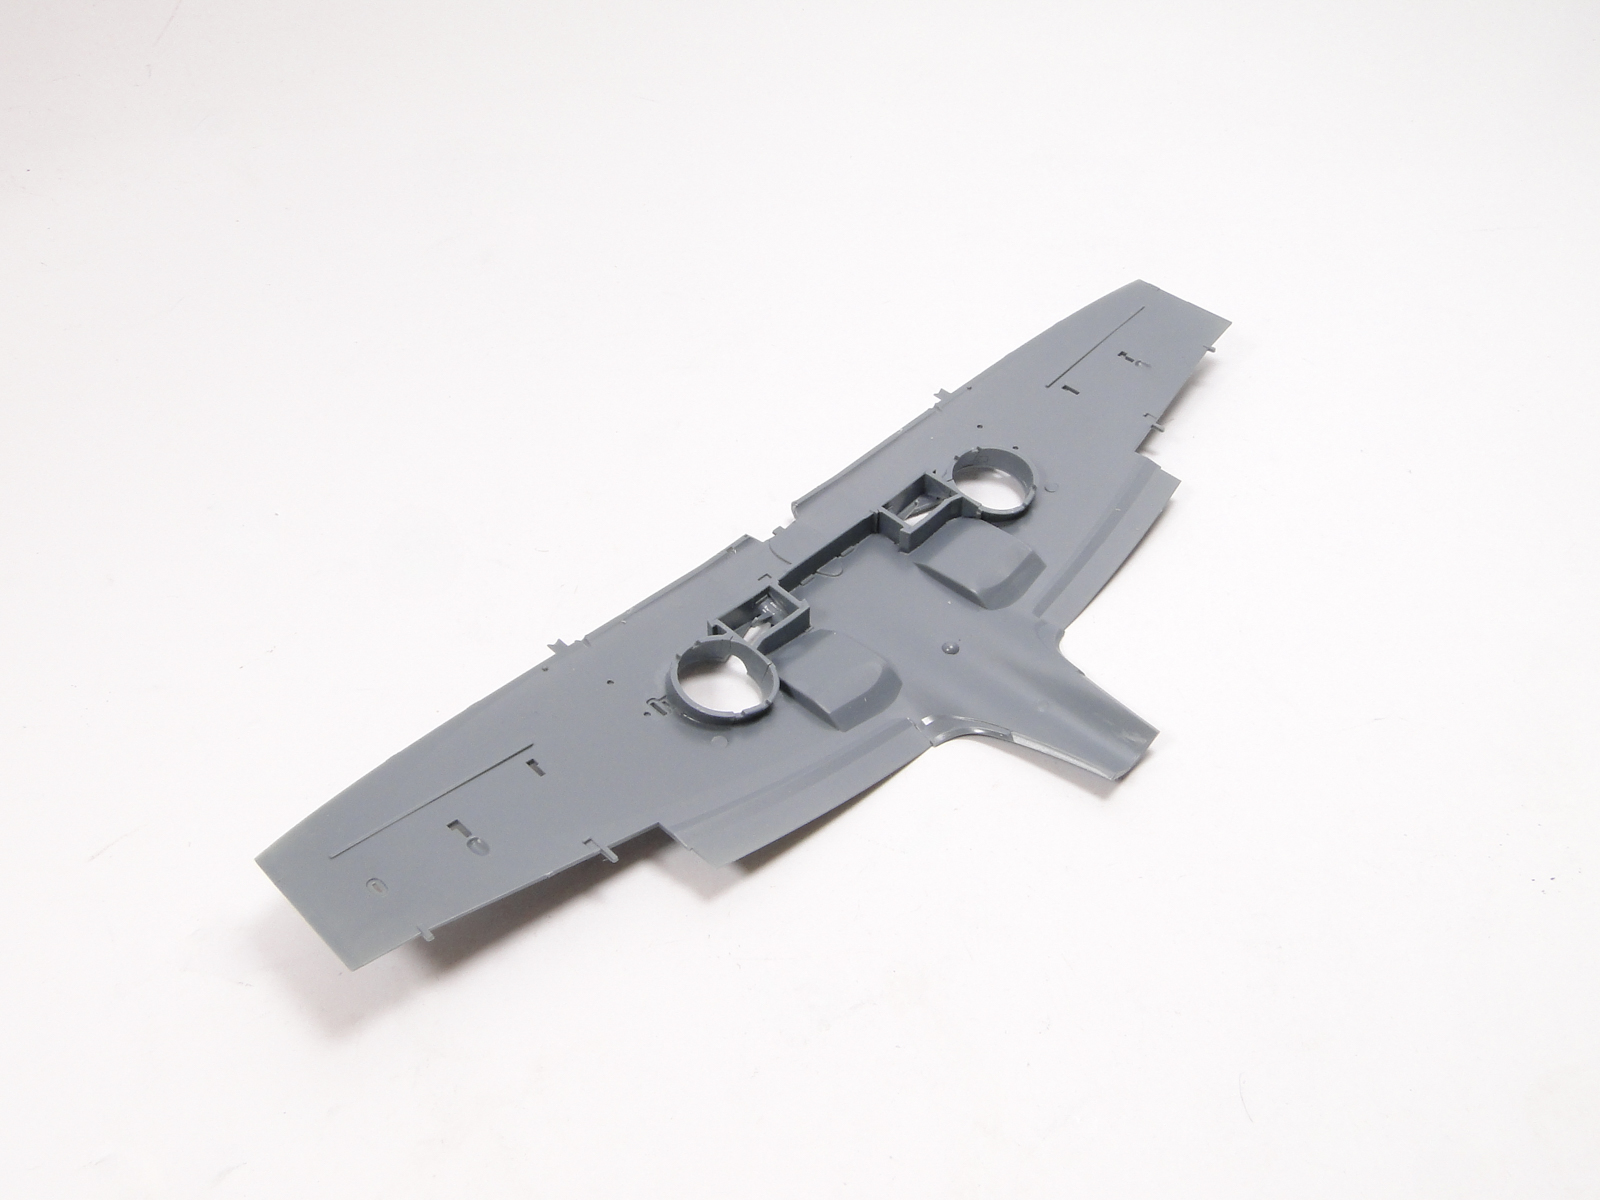
At this point you have to decide which version of the Spitfire to build, because two variants of upper wing half are included. I decided to make a Spitfire...
And here is the end of our guide's first part. Which version did Piotr chose, we'll see in the next part of our guide.
To be continued: