


Painting the model black is not as easy as it might seem. How to make some weathering on it? See how Piotr Słomiński dealt with this problem. Below's the second part of our guide featuring Su-22 model kit in 1/48 scale from Kitty Hawk.
Missed the first part? Click here and catch up! :-)
Next step was to prepare all of the elements that make up the main landing gear. So: wheels, wheel struts, wheel wells and landing gear covers. I also added some hydraulic pipes that were not included in the kit.
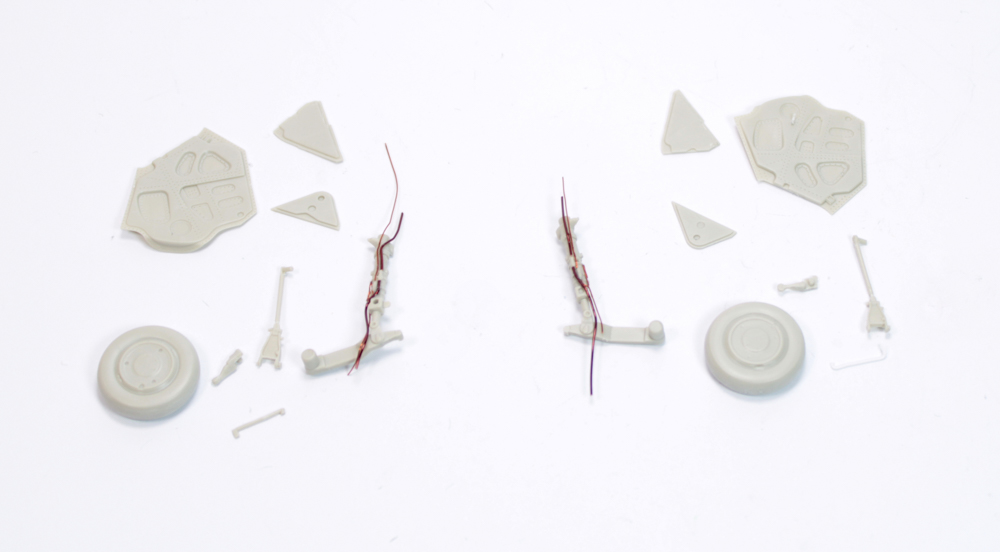
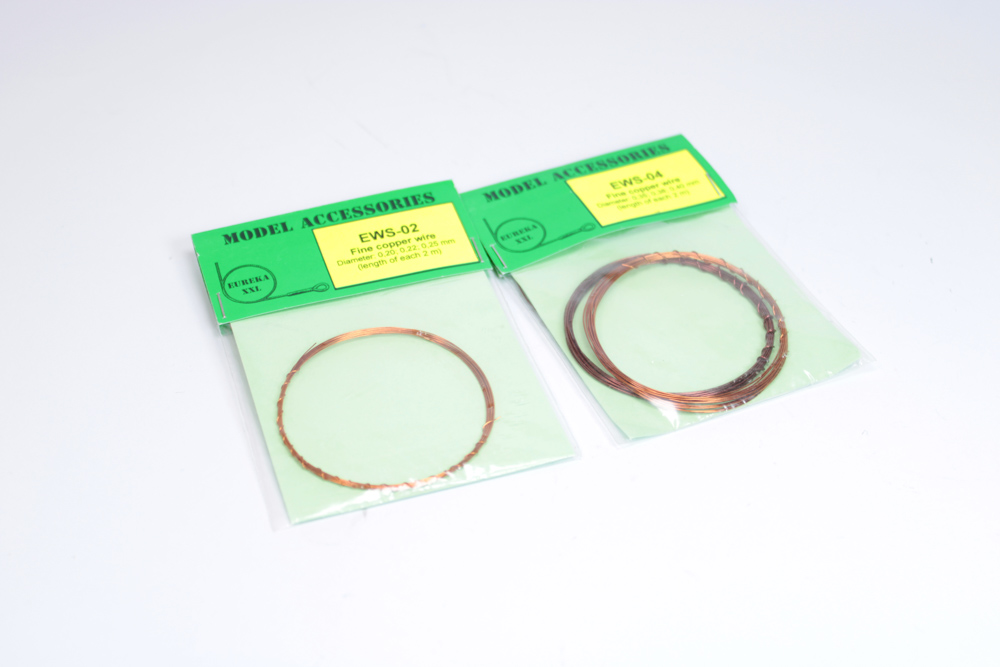
For this task, I used copper wires from EUREKA XXL in gauges 0,20 and 0,35 mm. Using micro drill bits of respective diameters, I made some holes in the struts that I inserted the wires and secured them using CA glue.
Wanting to prepare the wheel wells, I had to prepare the wing parts that house them. I glued in the bulkheads and all of the details that won't collide with further building steps.

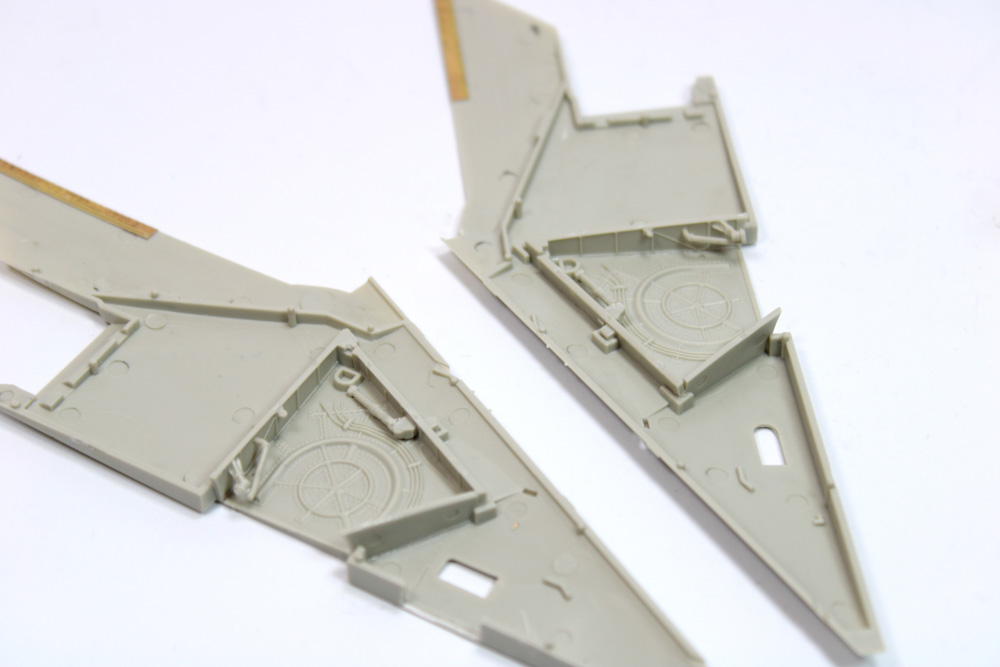
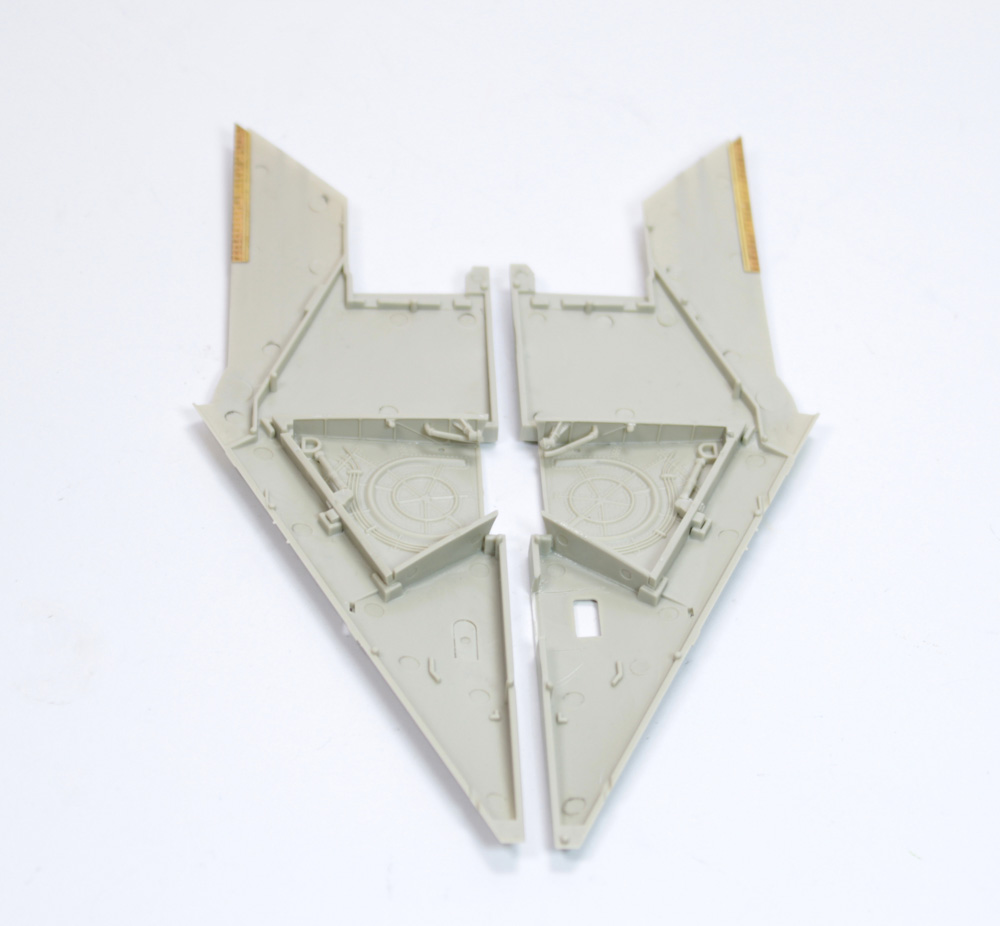
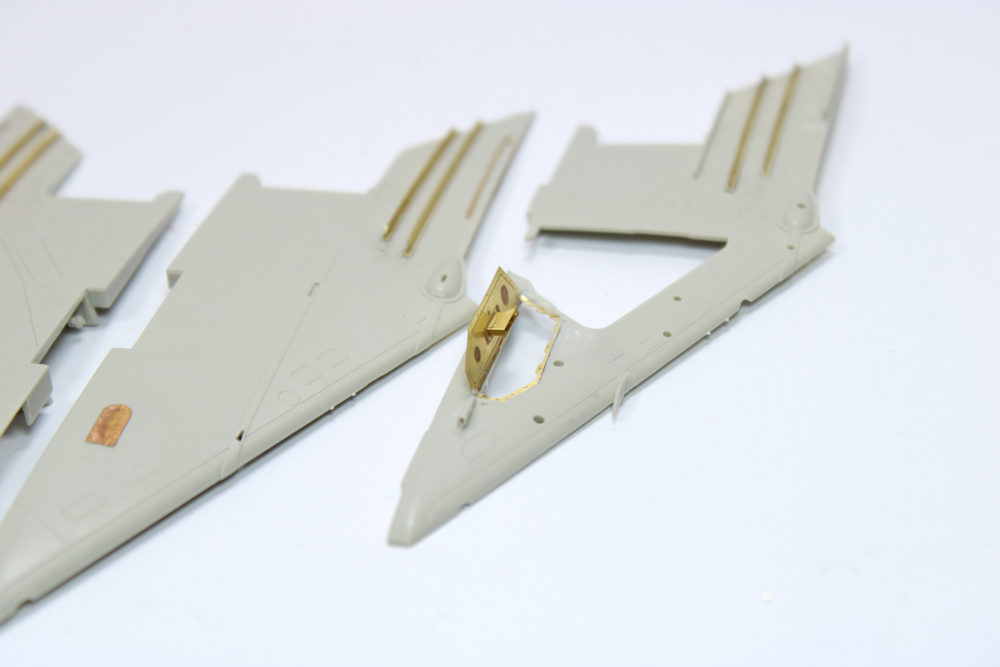
I treated, in a similar way, the upper parts of the wings. I also decided to open the cannon bay. Here most of the elements that build into it were replaced with Eduard photoetch which are much more refined, detailed and accurate than what the kit parts provide.


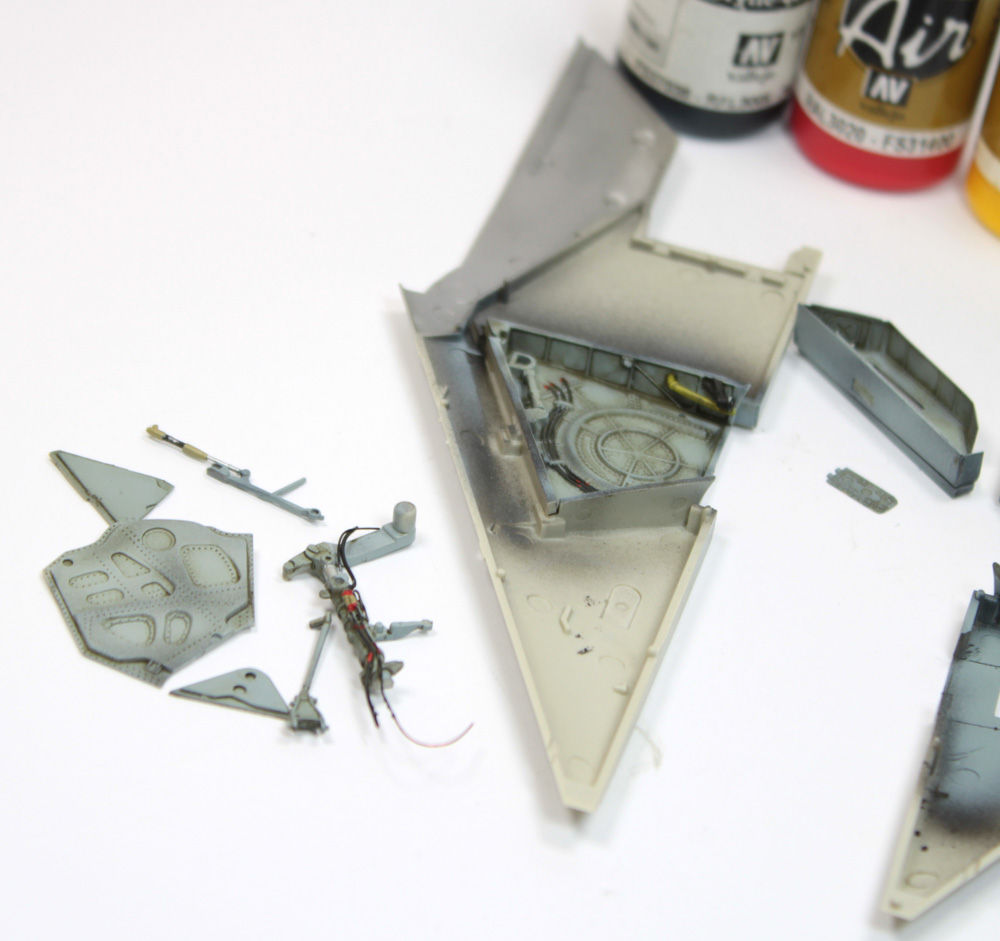
I decided to paint the wheel wells as well as the cannon bay before gluing the wing halves together. This way I have much easier access to all of the details. As the colour is the same as that of the landing gear I decided to paint them in one session. As usual I started with Mr. Color C33 Matt Black…

which was followed by the appropriate Mr. Color C73 Aircraft Gray. I sprayed a thin, transparent coat to leave some of the black under colour visible, creating a subtle shadow effect.

When this basic paint application dried I painted the small details in appropriate colours. I applied some Ammo Mig 1003 Interiors Wash to all the nooks and crannies afterwards.

So the main landing gear elements were virtually painted ready. All the necessary correction will be done after gluing it together with the fuselage.
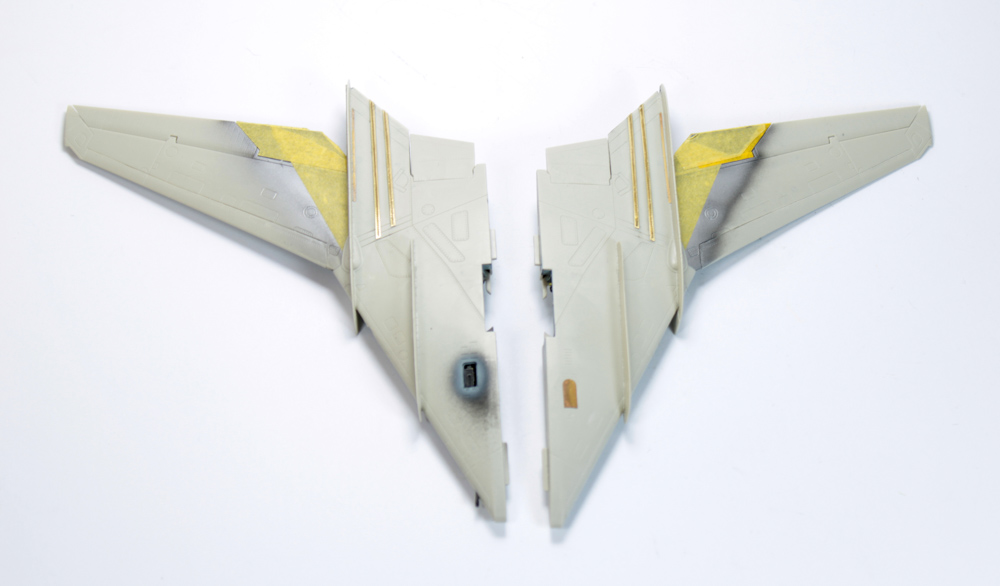
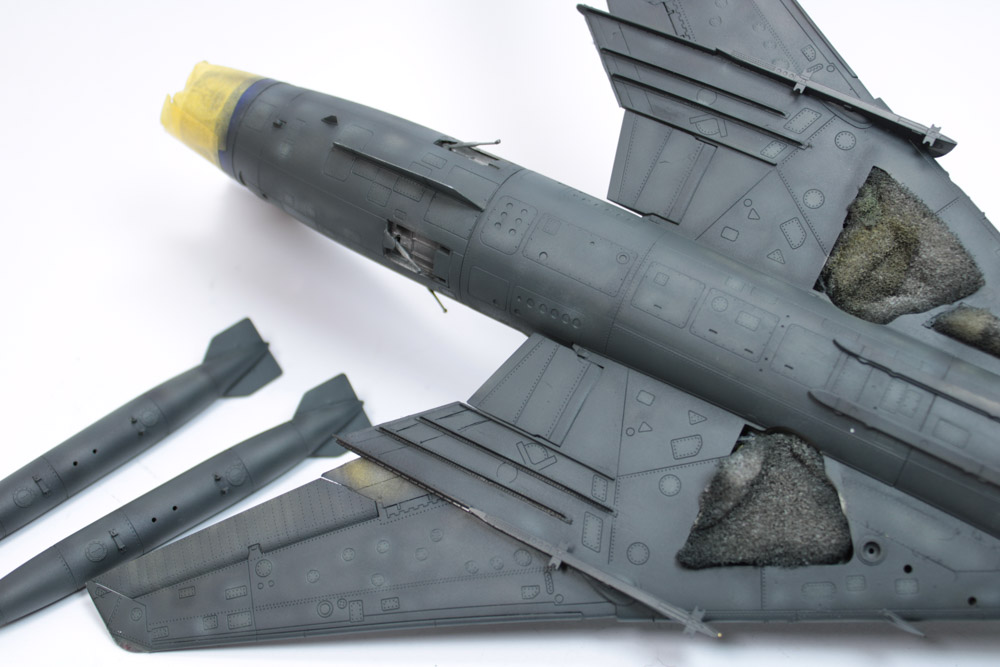
Before I joined the wing halves together however, I had to prepare their remaining part. As the Su-22 is an aircraft with variable wing geometry (so part of the wing is movable) I had to cut away and clean up the appropriate parts.
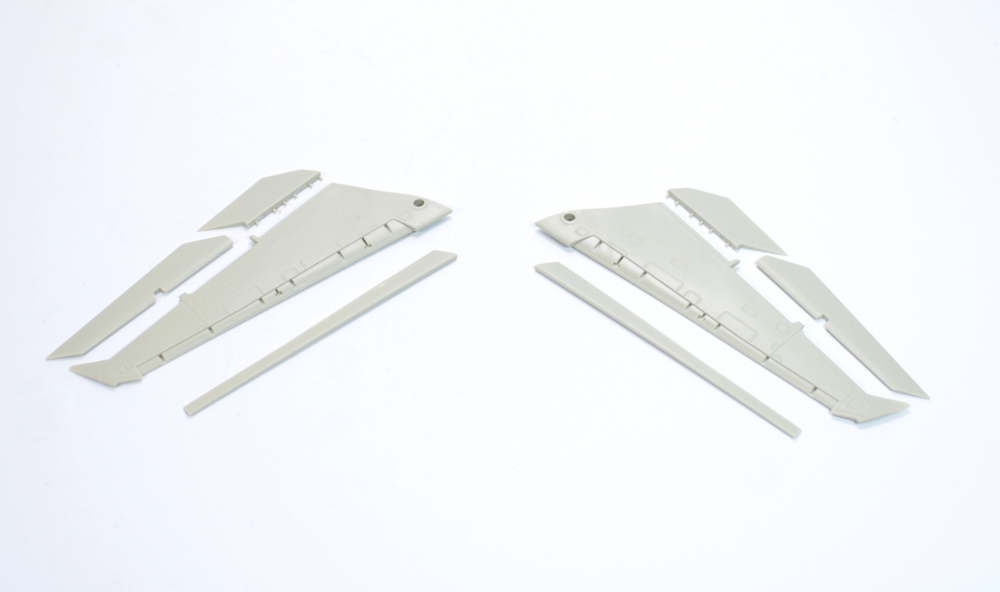
And glue them together afterwards.

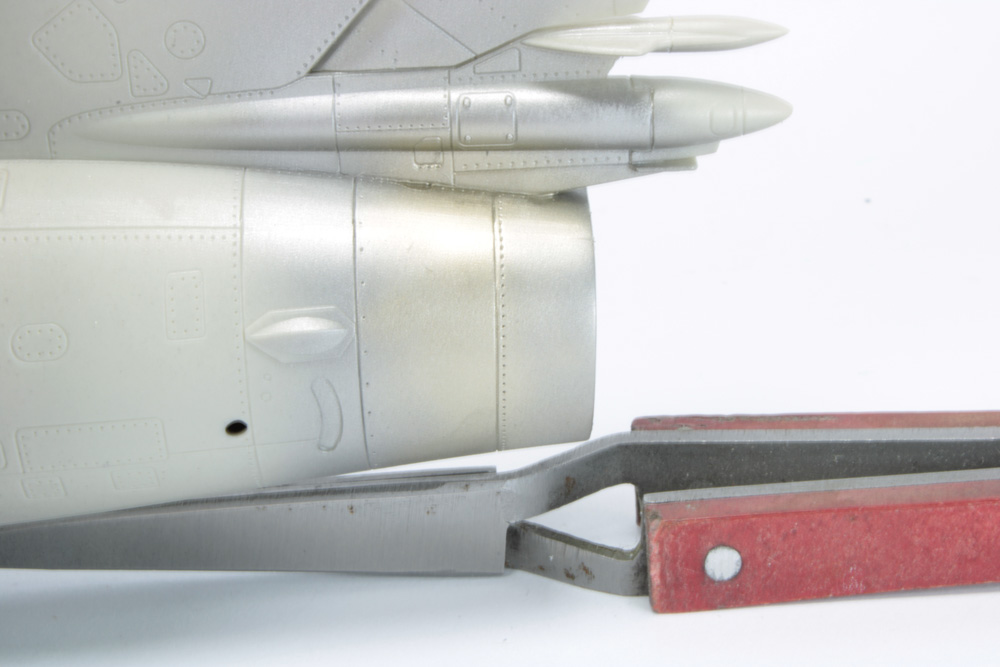
Final step was to paint the areas that were to remain in the natural metal colour. For this task I used AK Interactive Xtreme Metal 480 Dark Aluminium.
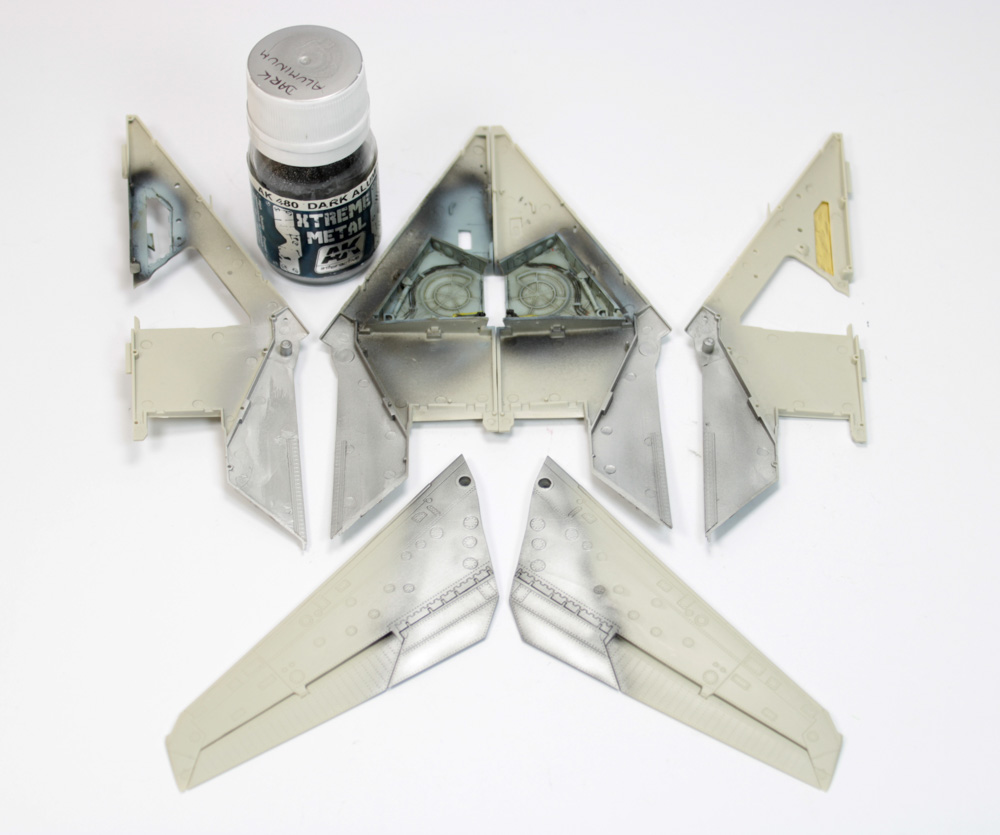
Having the airbrush already filled up with this colour I painted the rear part of the fuselage that houses the exhaust nozzle. It was a base for further painting.

Metallic areas on the moving wing parts were masked with Tamiya masking tape. It will be removed only after painting the whole aircraft. Finally I was able to glue the wing halves together.

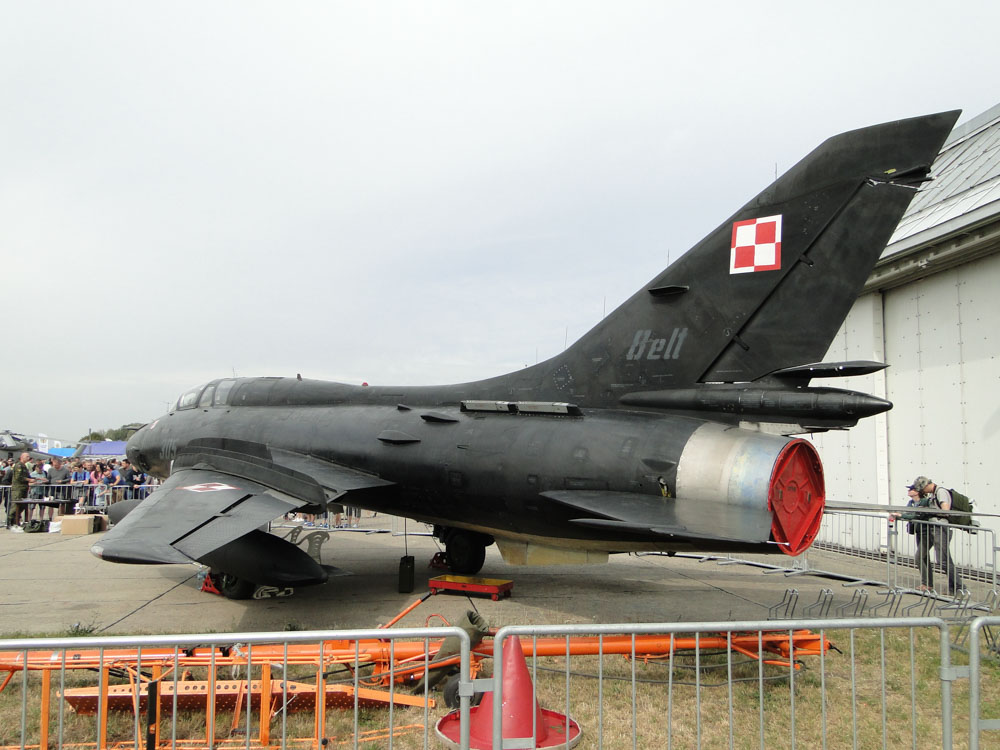
Before I decided to glue the wings to the fuselage I finished painting the exhaust nozzle. I wanted to achieve a result imitating a burned and overheated metal. As a reference, I used the photograph below of the original machine. First to be applied was the Alclad 2 - Black Chrome ALC-124. This served as an illusion of oxidation and some patina. Of course it was applied over a base paint that I mentioned earlier.


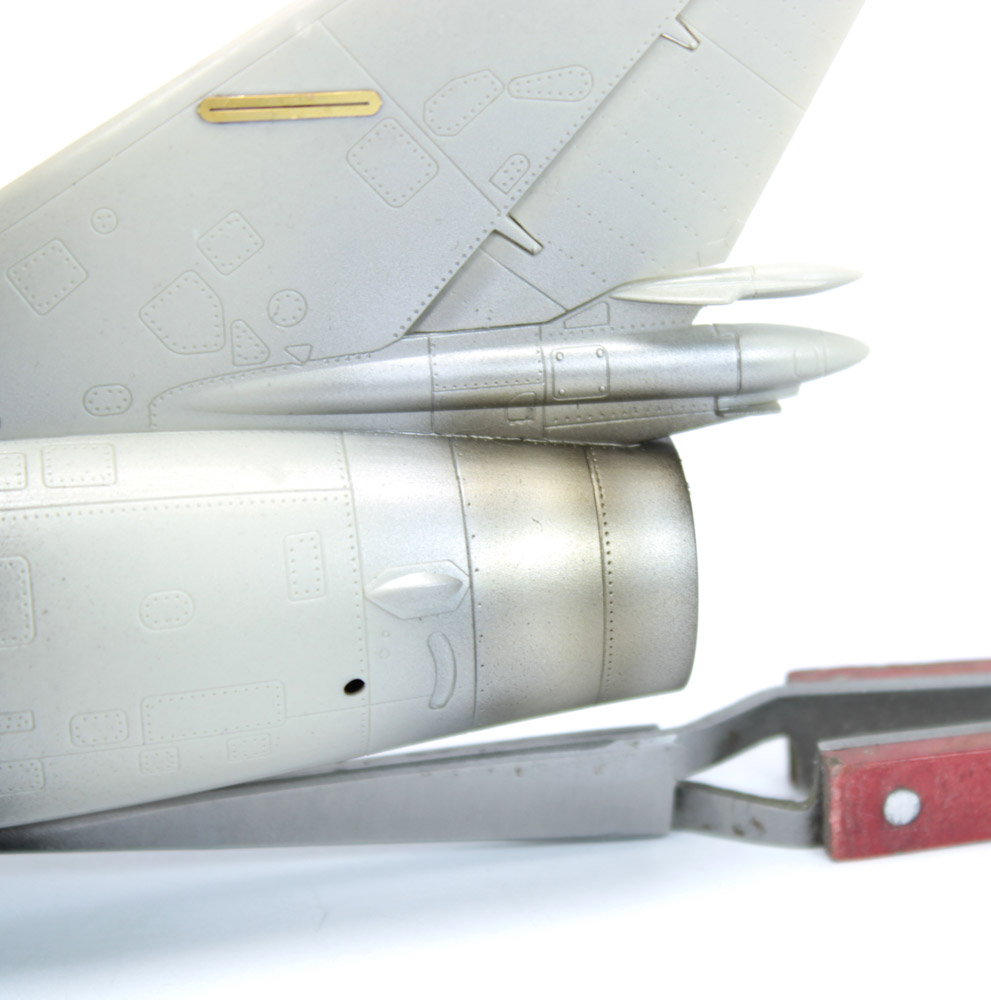
Next colour that I applied in an irregular manner was Pale Burnt Metal ALC-104also from Alclad 2.

And finally I added some subtle accents using Alclad 2 Jet Exhaust ALC-113.

With the nozzle painted and dried, I masked it using masking tapes from Tamiya and 3M. Later on I will add some colour effects using watercolour pencils.

I joined the wings with the fuselage - now finally it started to look like a proper aircraft!
Here the part fit was perfect - all I needed to do was to add some Tamiya Extra Thin Quick Setting glue and leave for some time to properly dry.


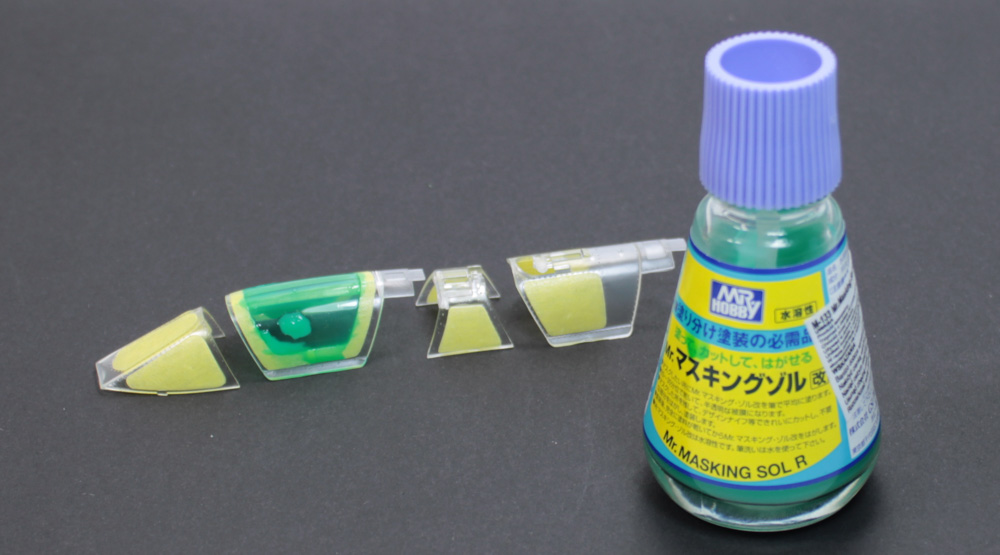
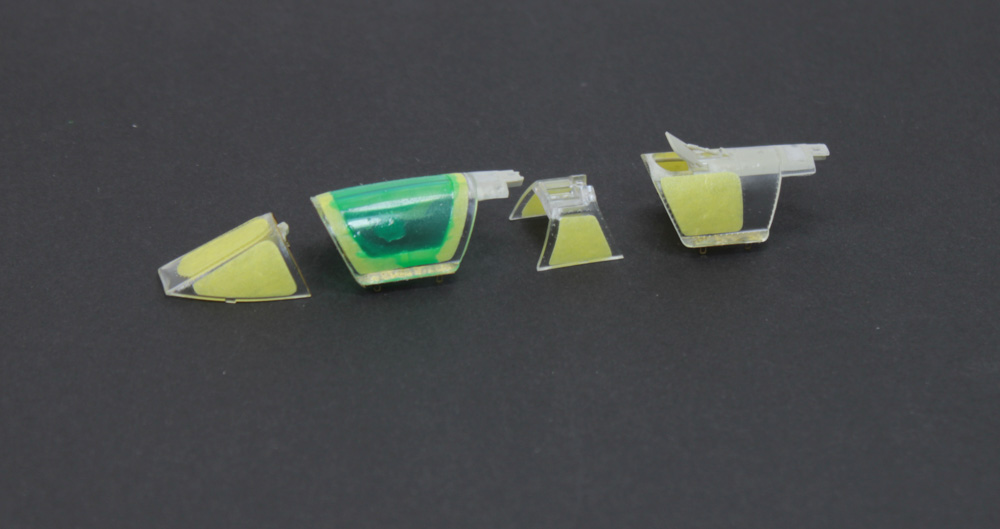
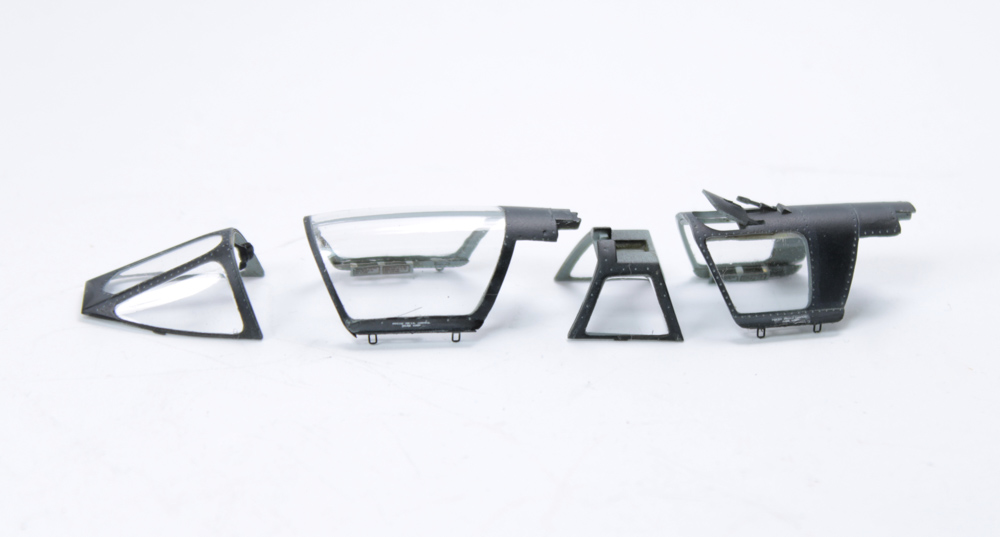
As the glue was curing, I began to prepare the canopy parts. The model would feature open canopies, so it's worth spicing them up with highly detailed elements found in Eduard's set. However, before that, cleaned up clear parts were masked on both sides (outer and inner) using perfectly fitting painting masks from Eduard.


Remaining surfaces were covered using Mr. Hobby – Mr. Masking Sol R.

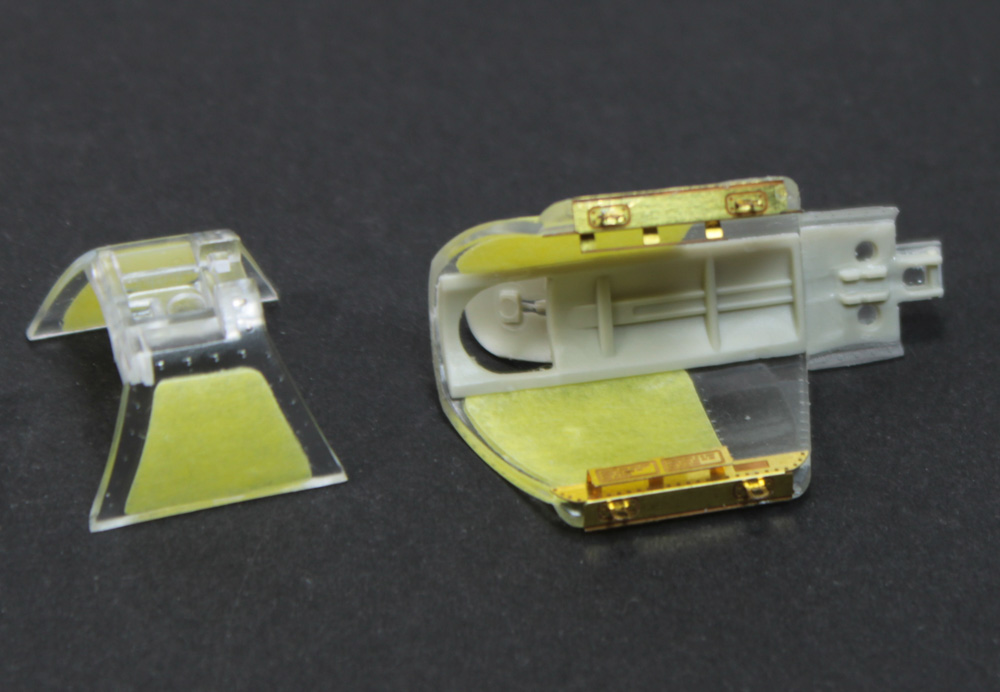
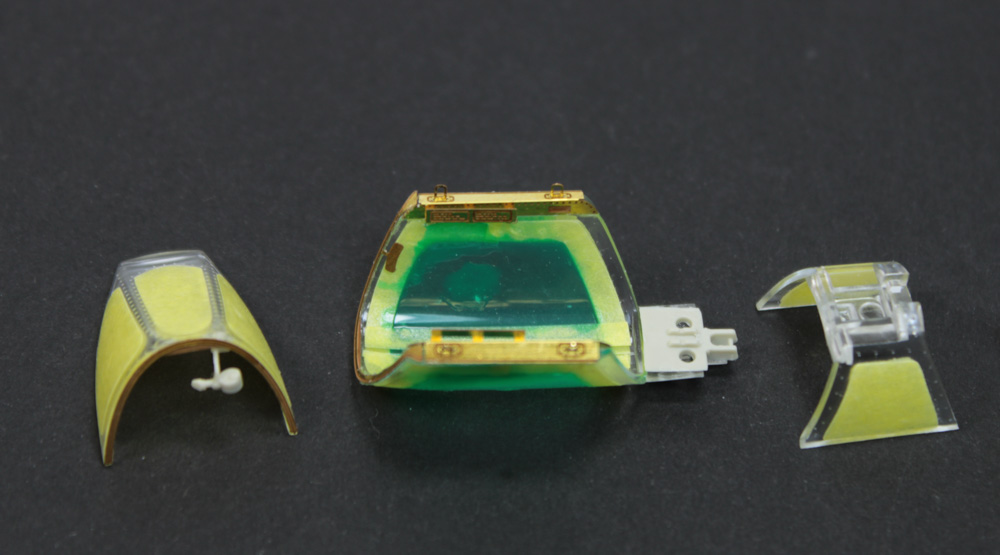
Having those elements properly protected I could begin to glue additional details. All of the metal parts were glued using, mentioned earlier Ammo Mig 2031 Ultra Glue and as such I worried not about any damage to the clear parts. Assembly went smoothly - I just followed the instructions.

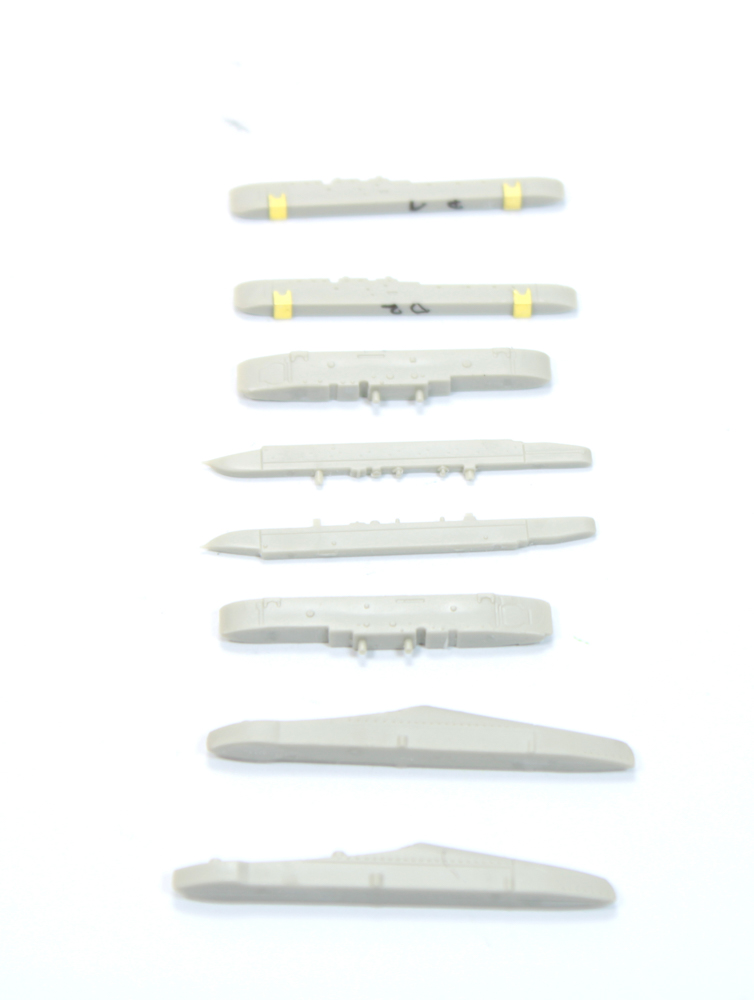
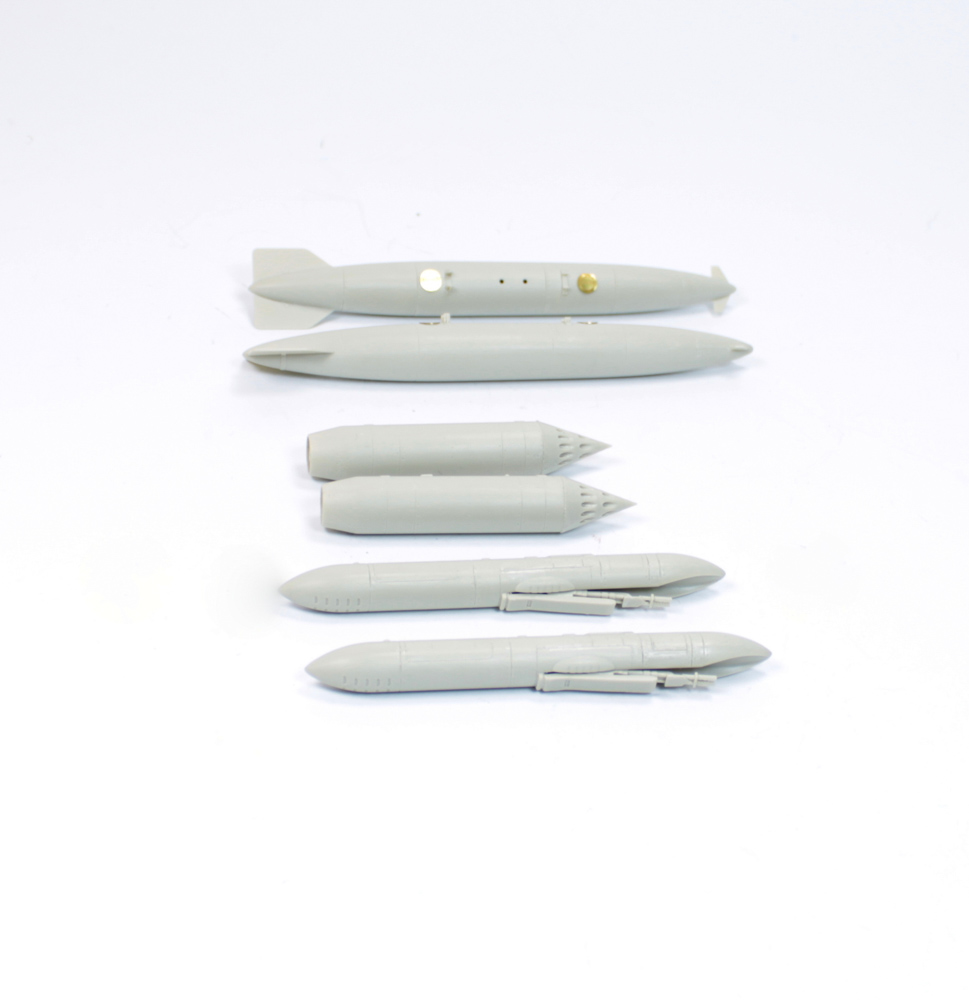
Next up came the payload. I began by selecting proper munitions using reference photographs of the original machine. I cleaned up and prepared the appropriate parts. It's worth mentioning that KittyHawk was very generous and packed with this kit a plethora of underwing options. There's really a lot to choose from!
I had now prepared more or less most of the elements and I could get to painting them. I started by spraying Mr. Color C73 Aircraft Gray which went onto all of the parts painted in this colour.
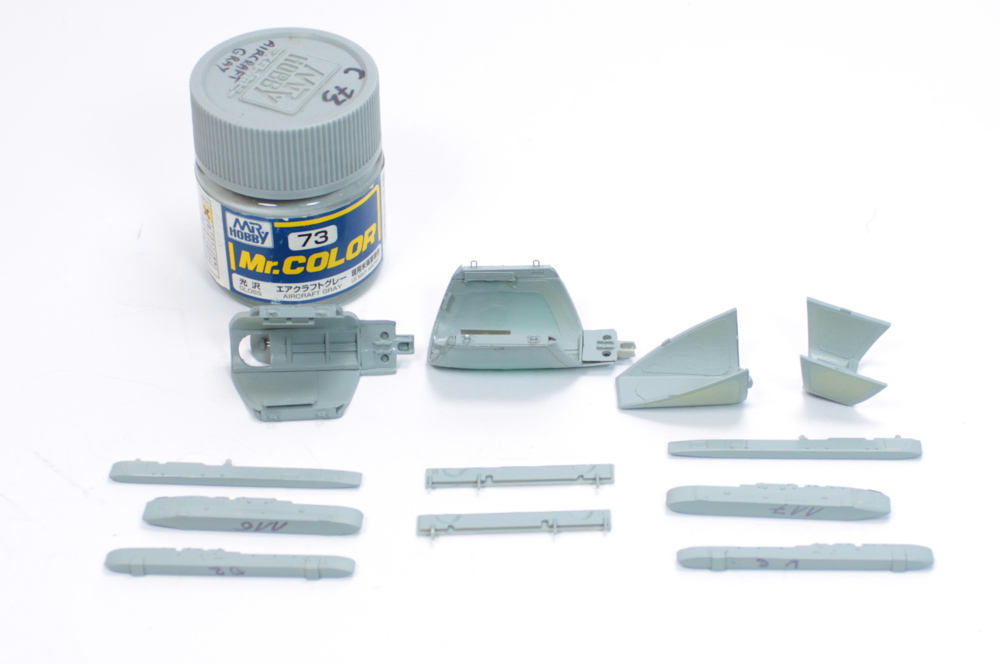
Using AK Interactive 480 Dark Aluminium i painted some parts of the armament and inner side of the air brakes.

Before painting the whole fuselage I masked off previously painted parts.

Actual machine is painted in overall black paint. However simply painting the miniature black would make it look flat and unconvincing. So I devised myself a plan to do it like this...
Firstly - I applied a strong preshading in black using Mr. Color C33.

Then I sprayed Mr. Color C338 Light Gray in irregular patterns. I also highlighted inspection panels.


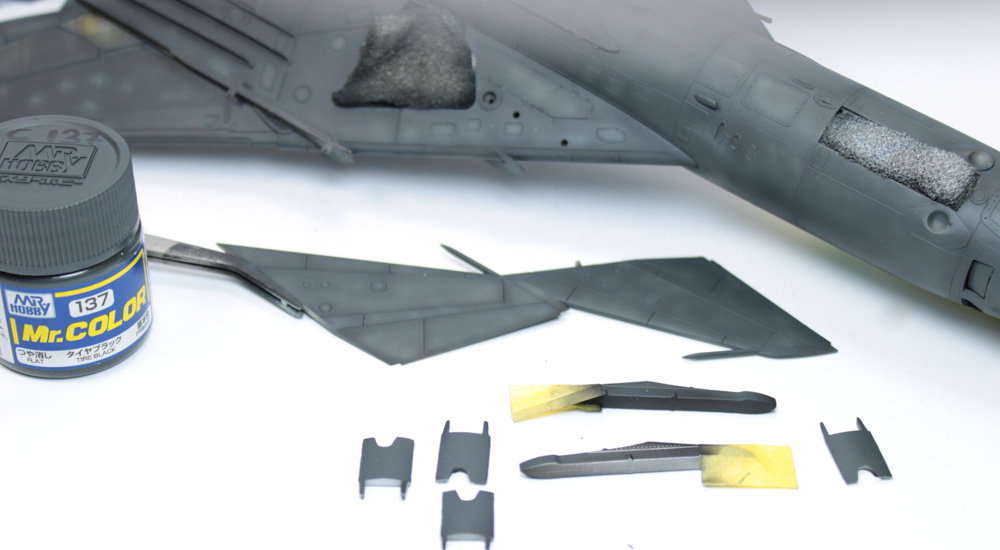
Then I applied highly thinned Mr. Color C137 Tire Black on the whole aircraft. I did my best to be very subtle here and not to completely cover the whole preshading that was done before.

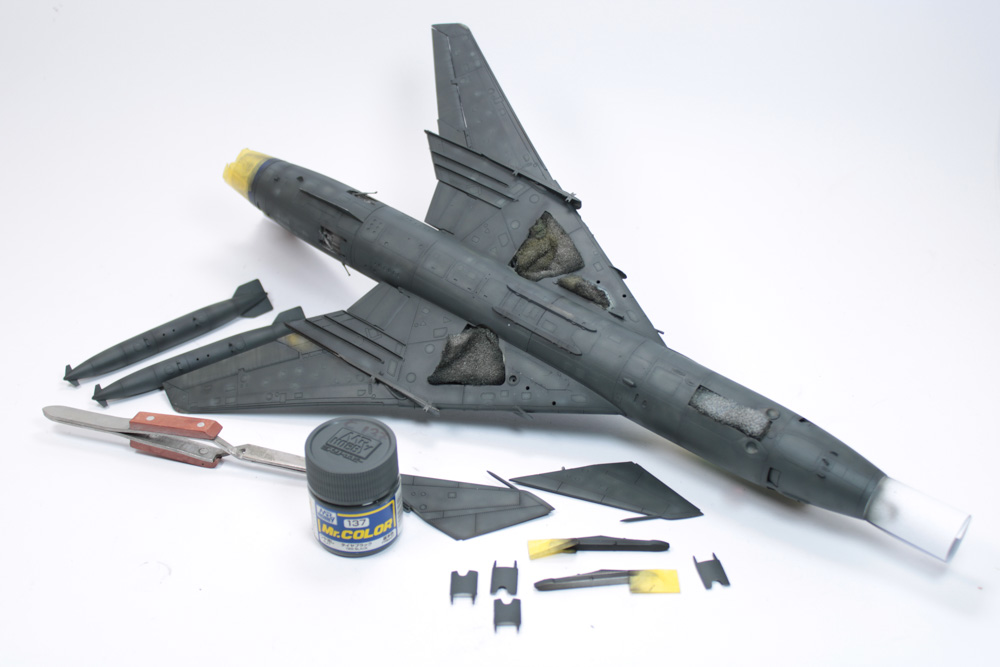
I was happy with the result. To even and tone down all those effects I finally applied a very delicate mist of black colour on this aircraft.


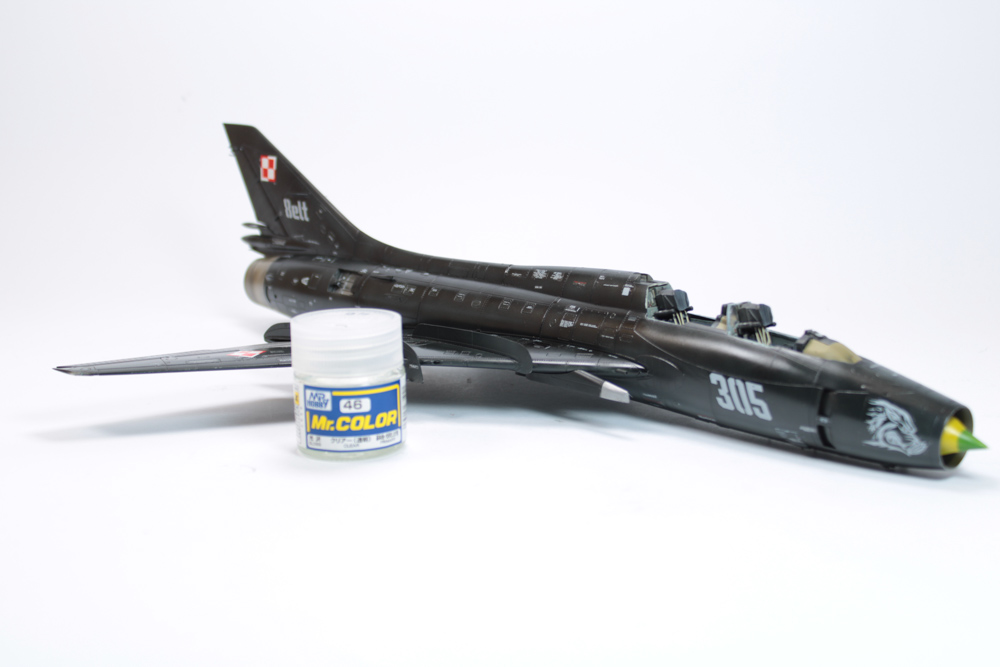
When the paint thoroughly dried I gave the model a protective coat of gloss varnish Mr. Color C46.
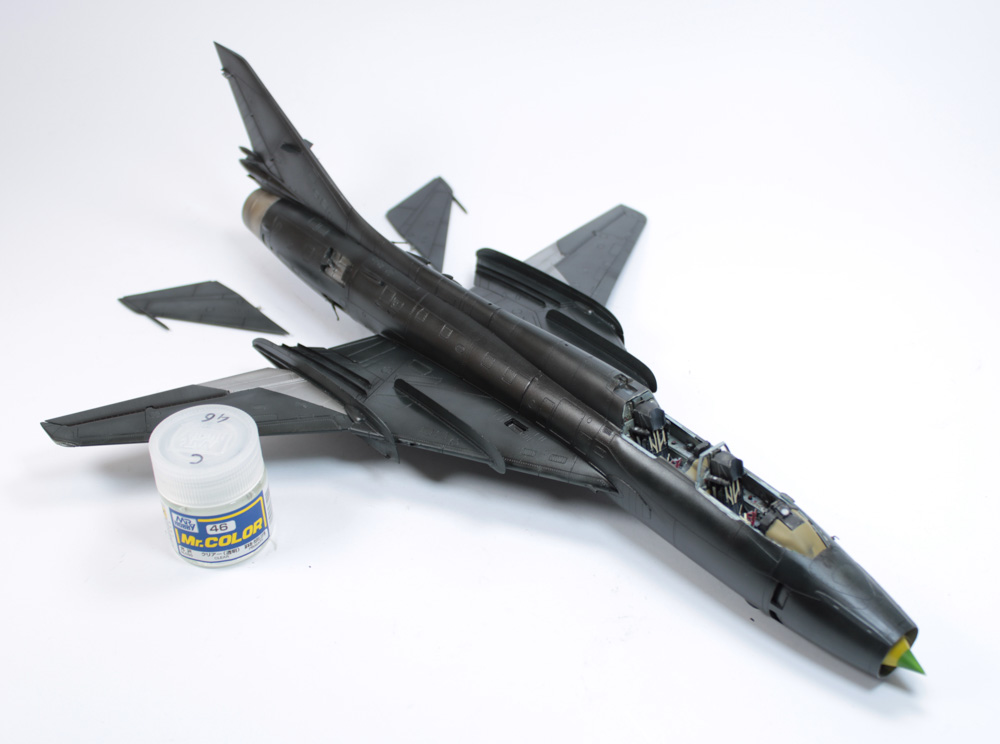
This also prepared the surface for decal application. And there were a whole lot of stencils to apply...
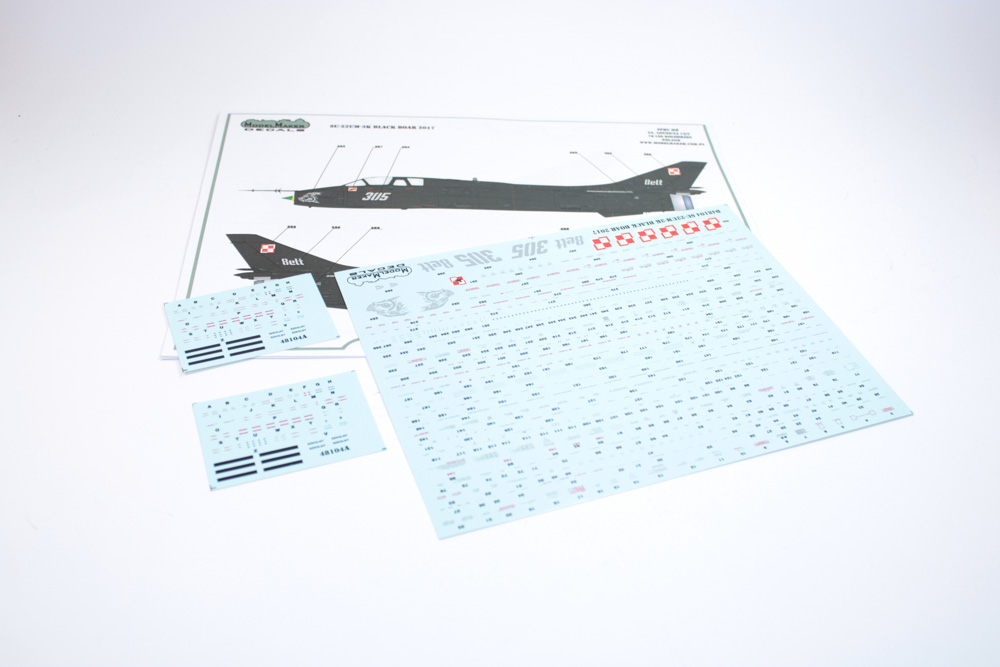
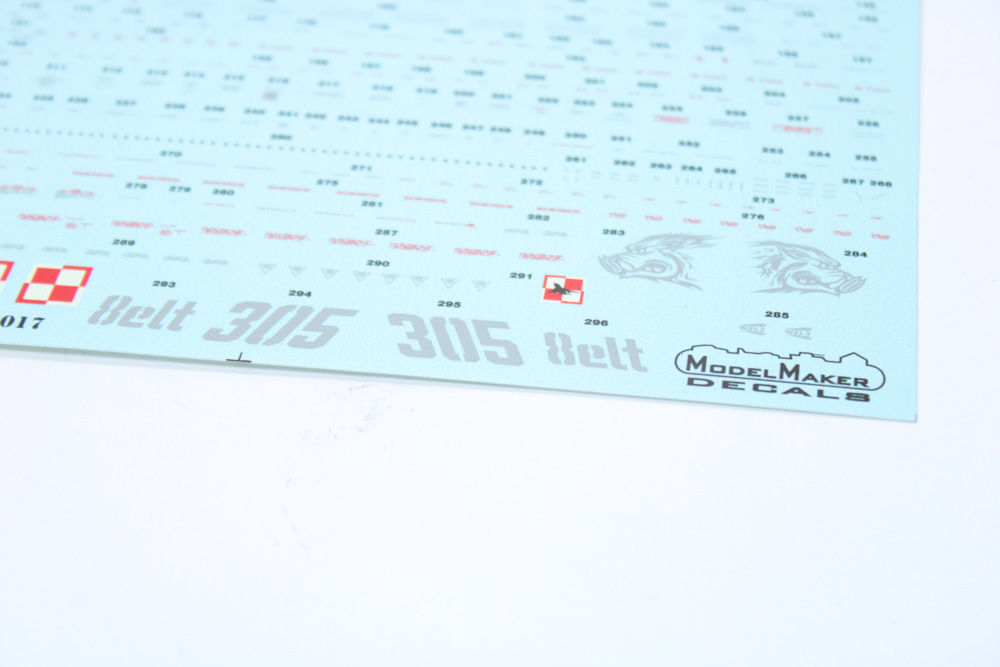
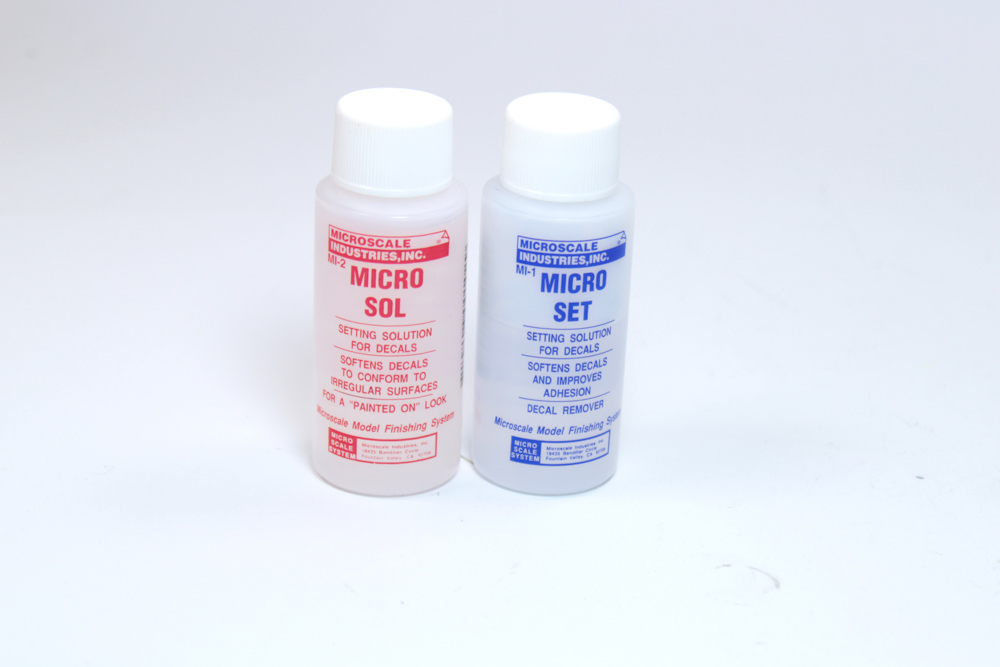
This was a very long and tedious process. Decalling took about 15 hours to complete. I used Microscale's Micro Set for application and MICRO SOL for softening the decals, so they would conform nicely to all the irregularities and recessess on the kit.


When the decals were fully dried I applied another protective layer of gloss varnish Mr. Color C46. This would allow a safe application of washes onto the model.
Ammo Mig Panel Liner Wash 1600 Light Gray was used for this purpose. I used a small brush to get it into the panel lines and rivets.
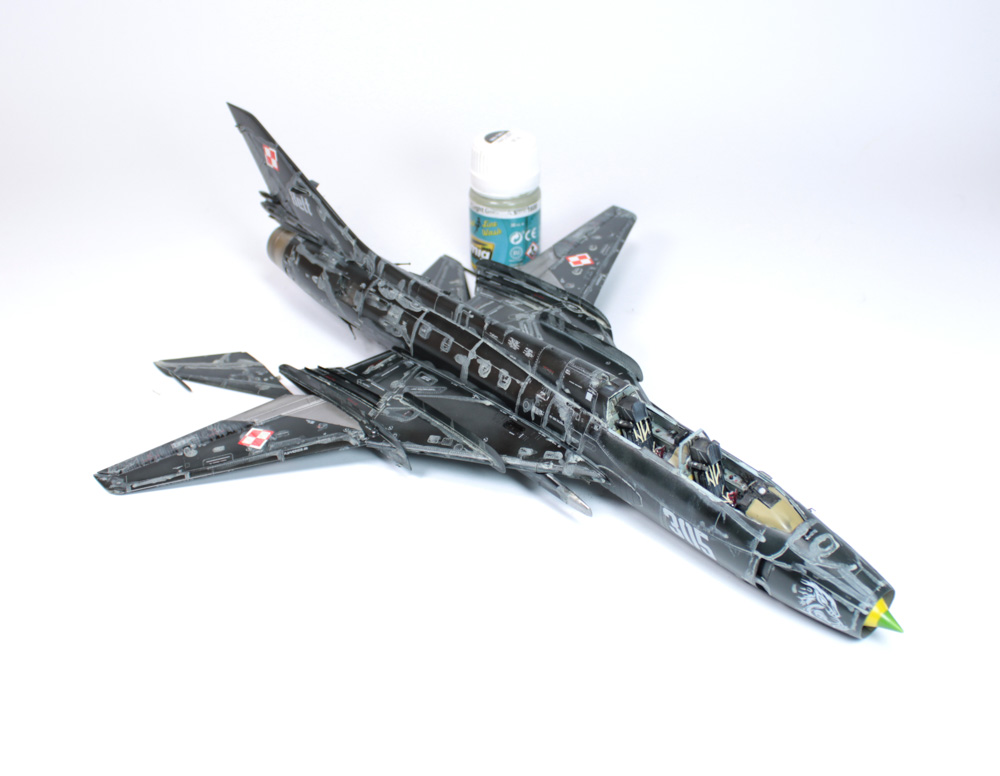

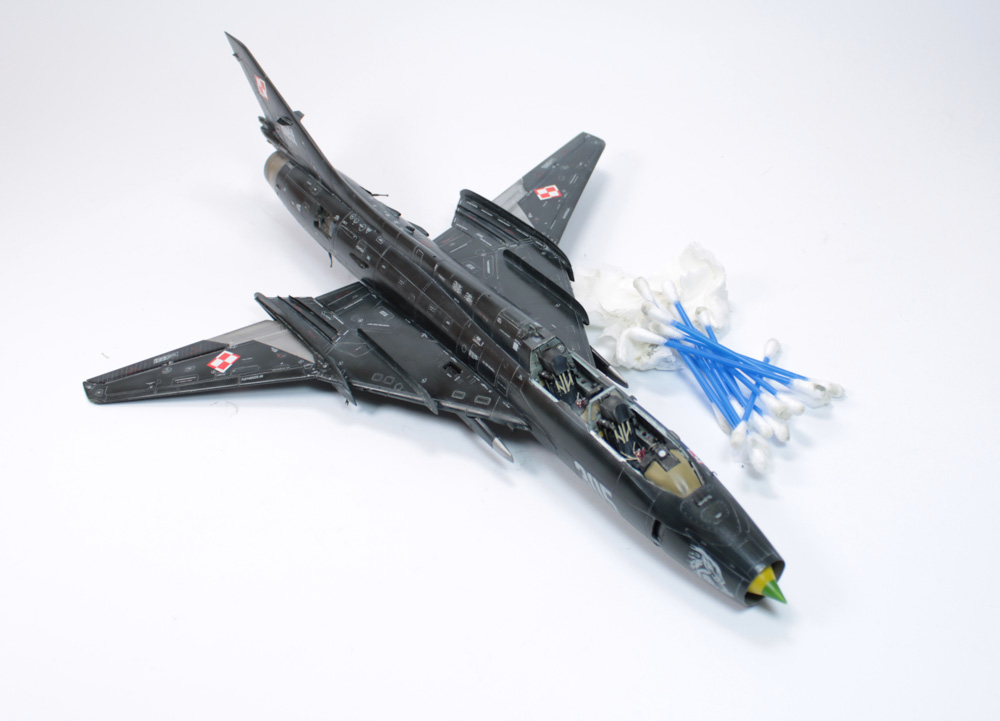
I gave it a few moments to dry up and went to remove the excess using q-tips and non-dusting cotton pads.


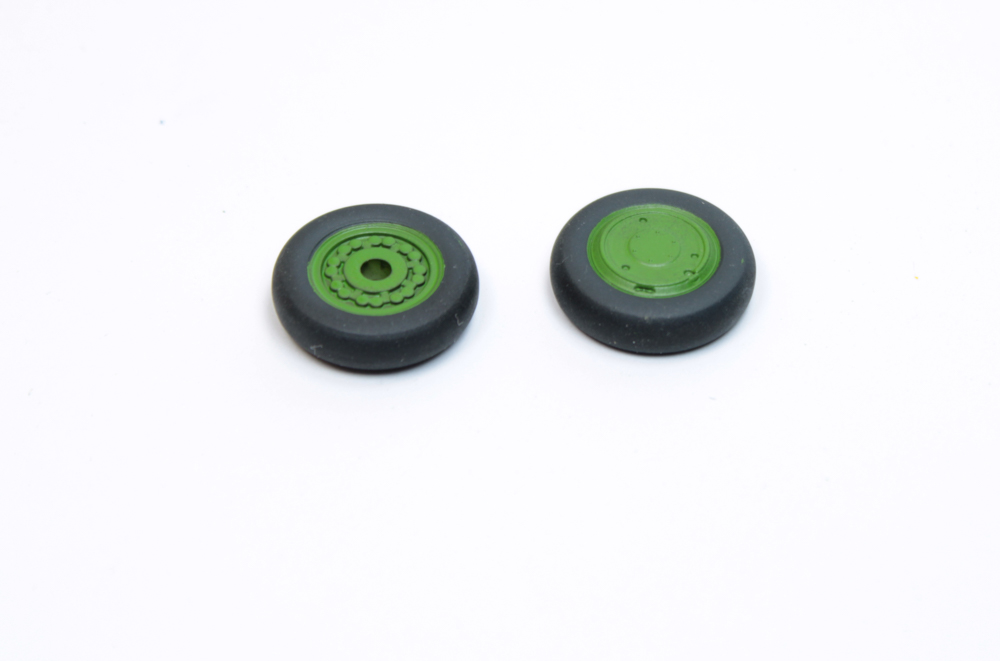
In the meantime, between various phases of so-called "drying time" I was preparing various small details, which were glued in place later on. As such I painted the hubcaps on the main landing gear wheels using HATAKA C221 WILLOW GREEN.

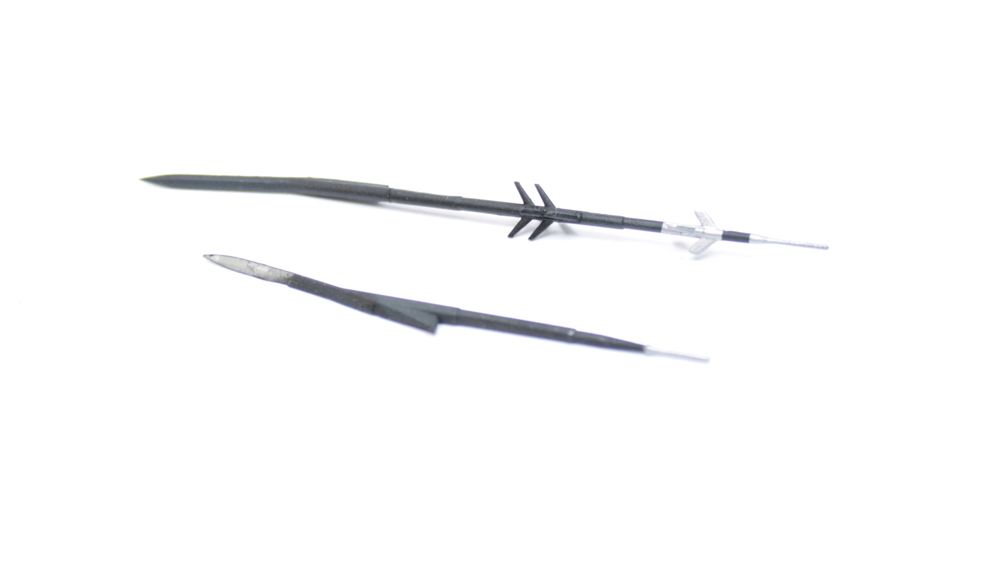
Using Duraluminium ALC-102 Alclad 2 I accented proper spots on the probes.

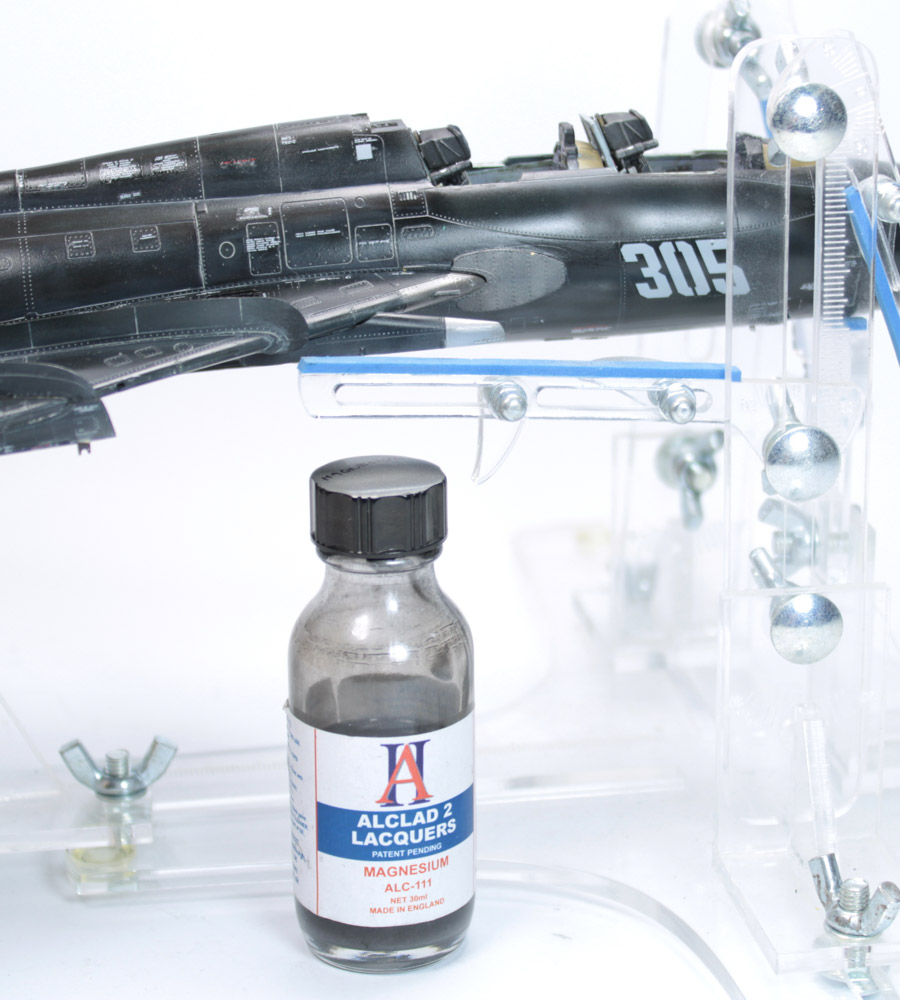
Next thing to do was to mask off the area around the wing cannon and paint it with Magnesium ALC-111 from Alclad 2.

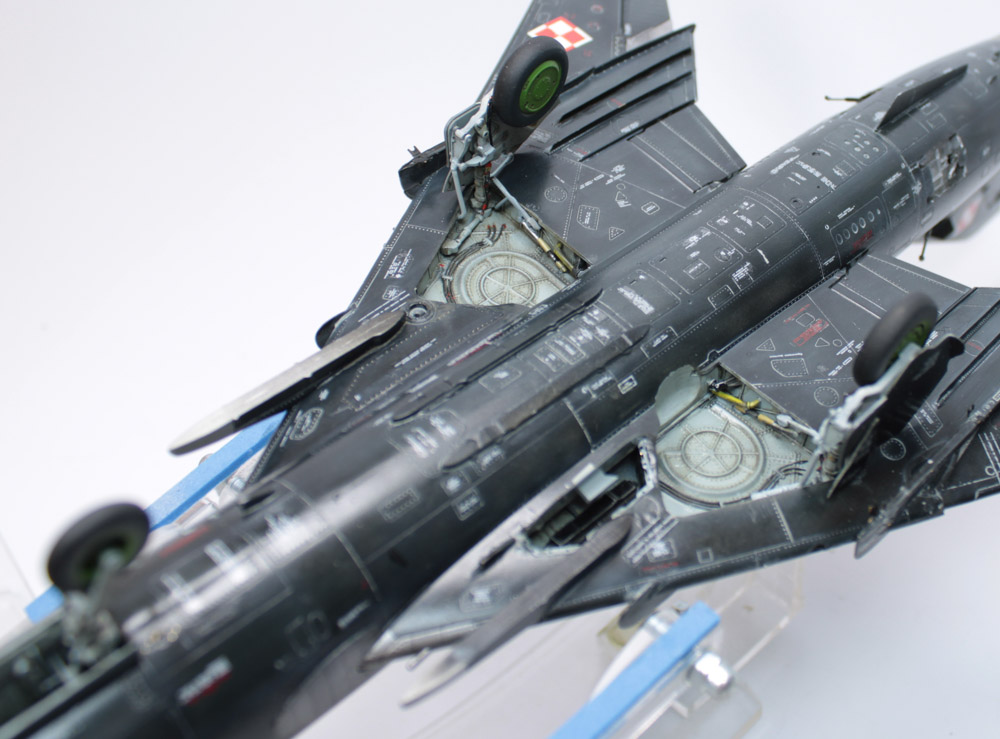
I could also start to think about gluing in place previously made sections and modules to the fuselage. I started with landing gear. The task wasn't particularly complicated, but it surely took time and patience to do it properly. Best way to do it is to glue one part, let it dry for some time and then proceed with attaching another element. This way it would be easier to control the gear's symmetry and alignment and keep it straight. I must also mention one very useful tool in a modeller's workshop, which is a model jig. It's a kind of a temporary stand for the time of assembly of a model kit, with a wide range of regulations to be able to support many different kinds of aircrafts. They can be found in many different types, mine is made by Vertigo.


Now, when my aircraft had something to stand on it was time to glue the armament to the respective pylons. Also take your time while working on this step. It's best to attach one at a time also giving some time for the glue to cure. I started with the pylons and after they were firmly glued I attached fuel tanks and armament.

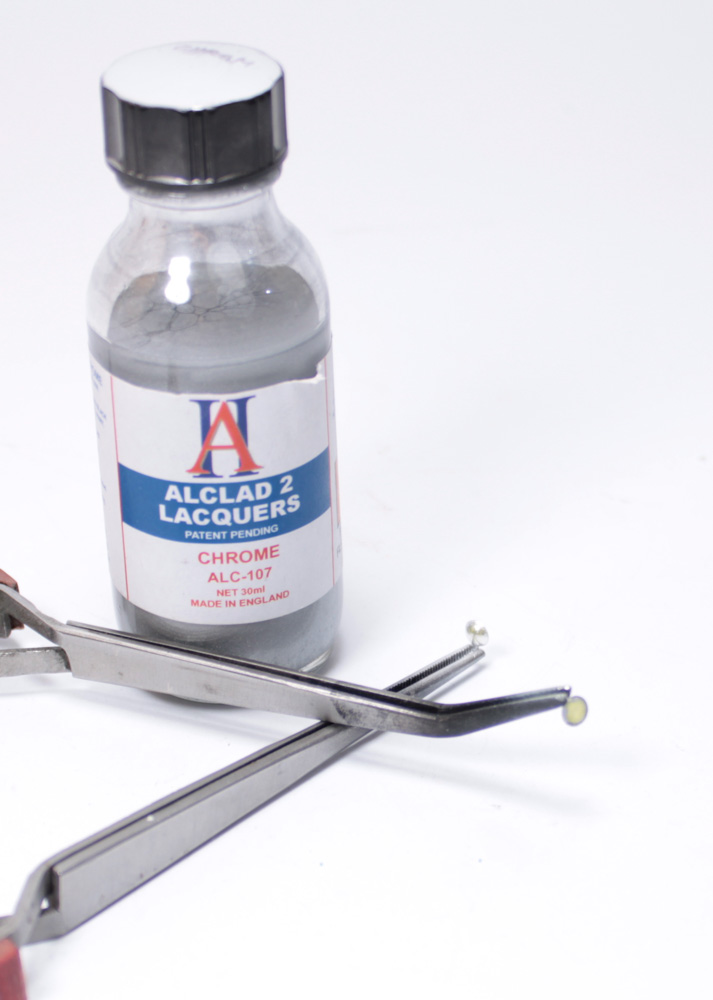
Again while waiting for the glue to dry I prepared the landing lights. I masked the reflector domes and painted them with ALCLAD 2 CHROME ALC-107..
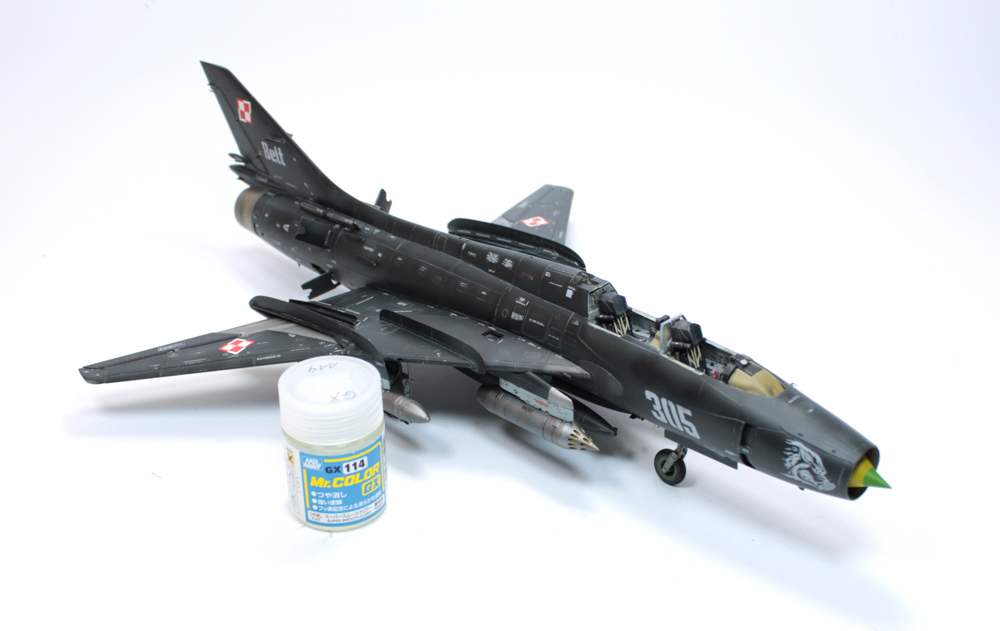
Then the whole kit received a protective coat of Mr. Color GX-114. matt varnish.
It was time to get back to the exhaust nozzle. I used a blue watercolor pencil to make some lines…
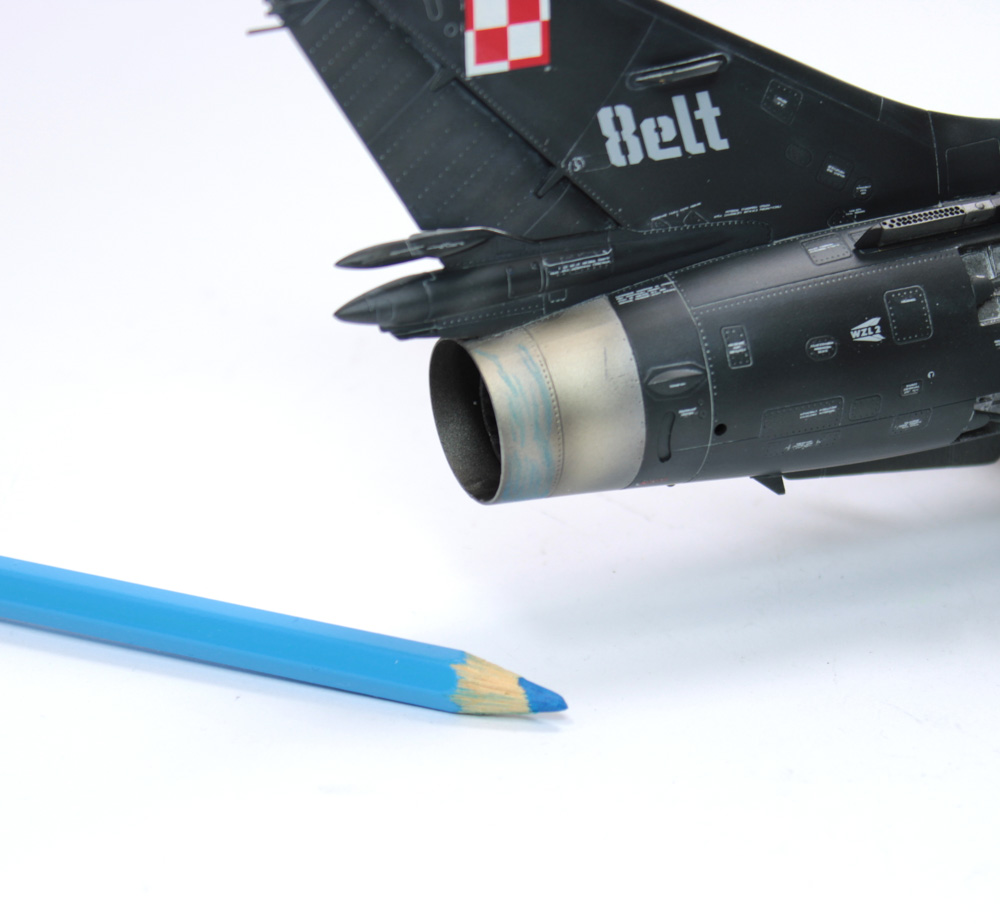
…and with a brush moistened with water I feathered and blended them untill I was happy with the result.

Having that out the way I glued elevators and air brakes.
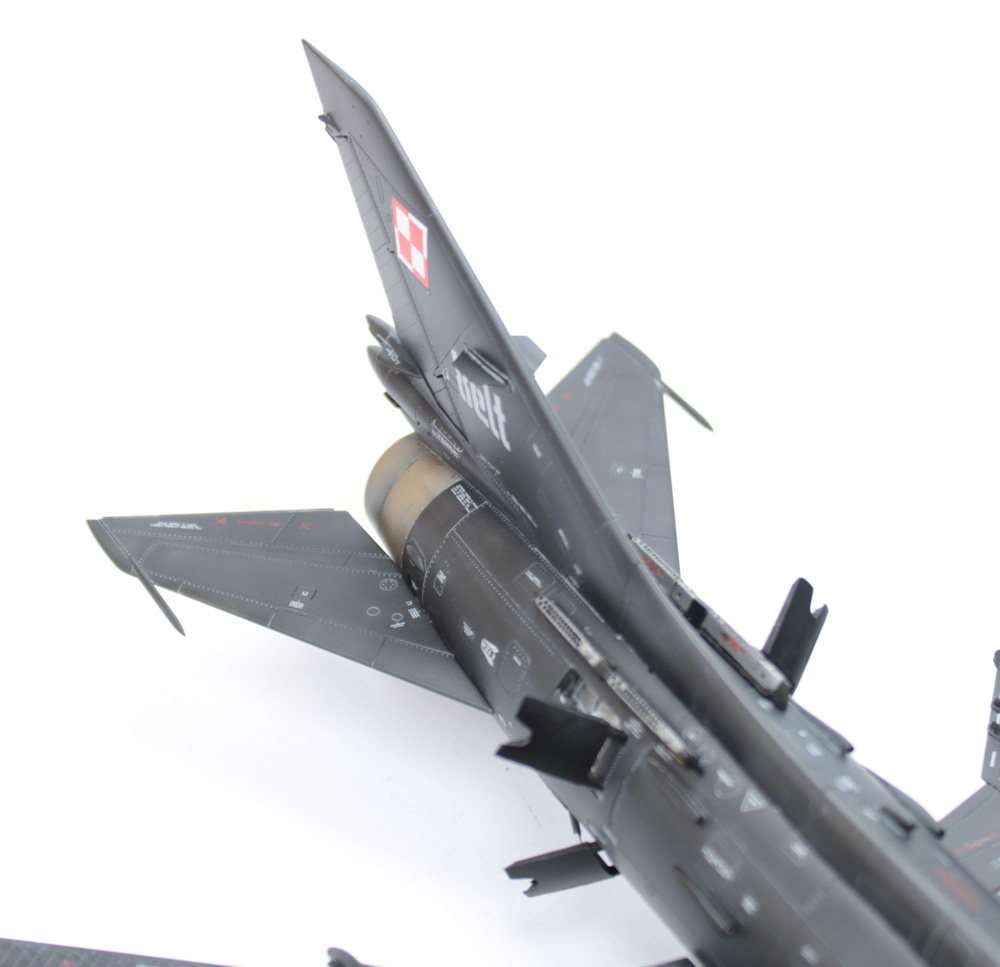
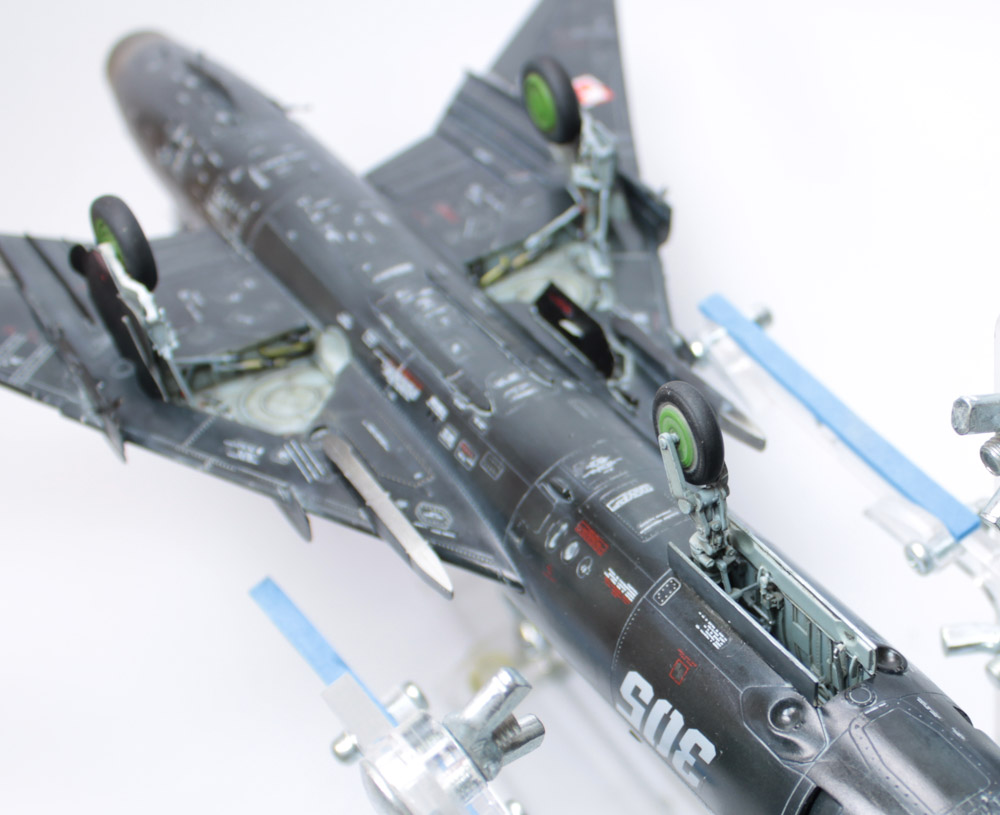
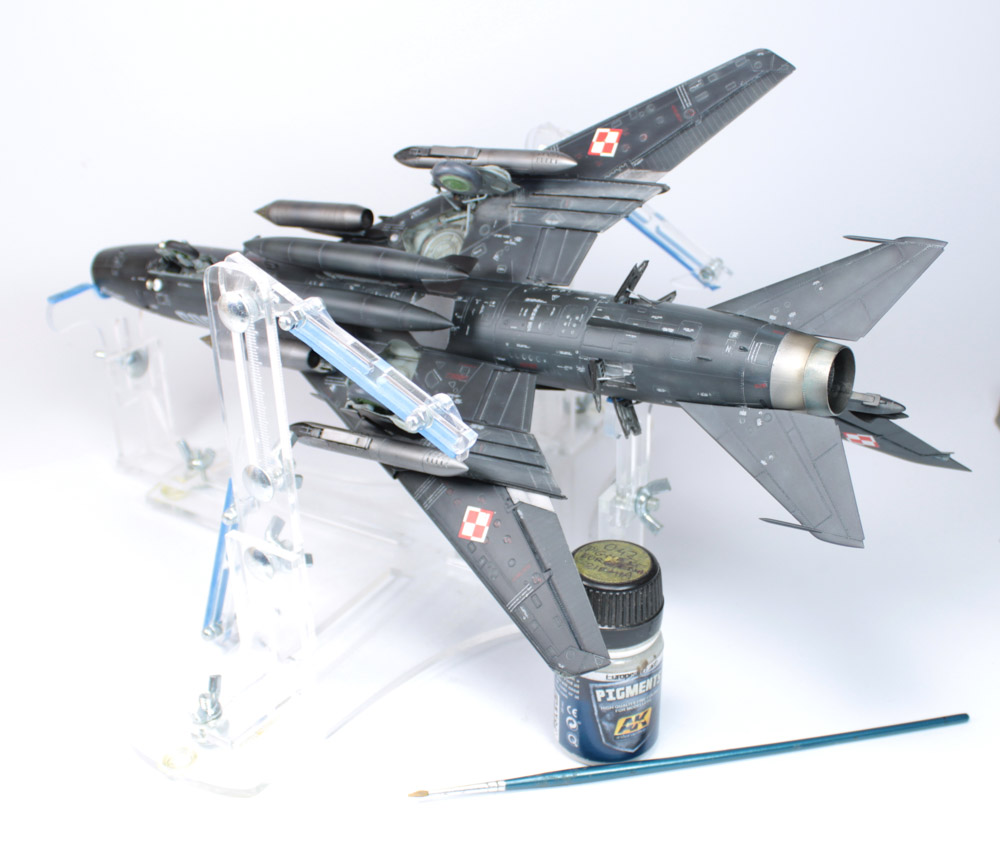
Using AK Interactive 042 Europe Earth pigment I did some very faint dirt marks around the landing gear. I tapped the pigment onto the surface using a paintbrush and blew off the excess. While looking at the reference photographs I didn't find any, which would be showing this aircraft very weathered or dirty, so I didn't want to go overboard with such treatment.
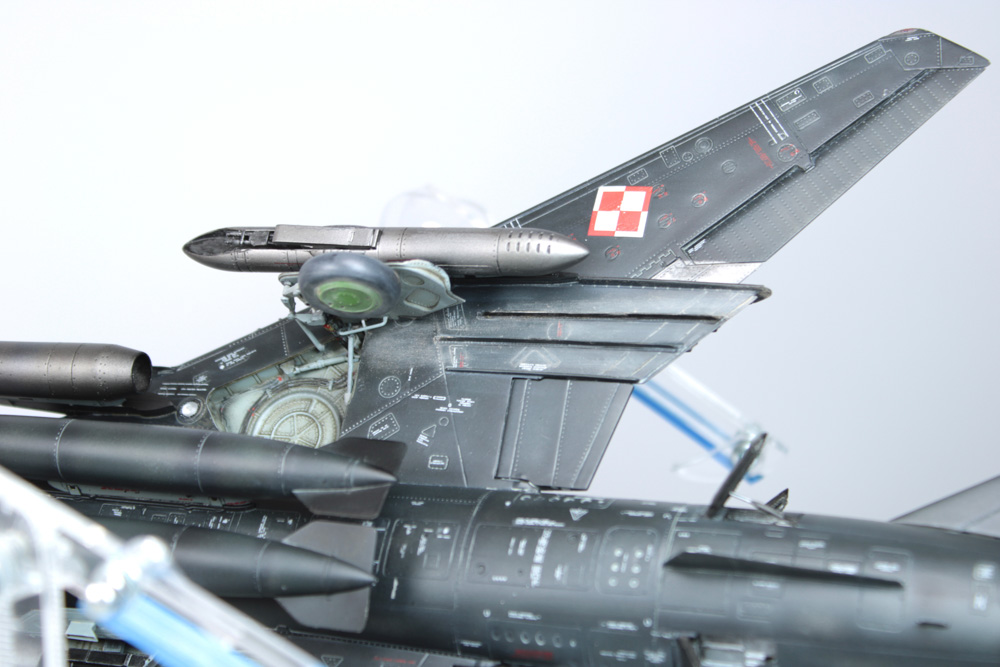
And finally it came the moment that with every build I fear the most! Removing masks from the canopies. Fortunately for me and the kit - everything was in perfect order. Neither any accidental overspray or paint coming under the masks nor any matting.
So now, when I don't predict any acrobatic moves with this model, I glued the canopies in place. For this, again, I used Ammo Mig 2031 Ultra Glue.

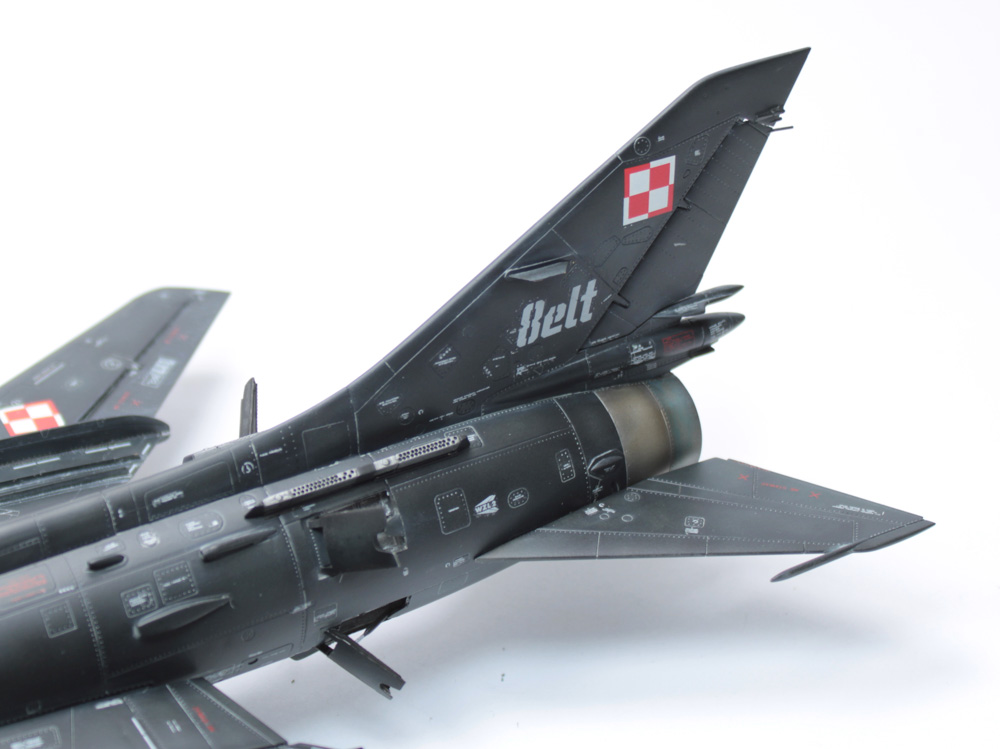
It was time to finish the build by gluing the rest of the probes and antennas...
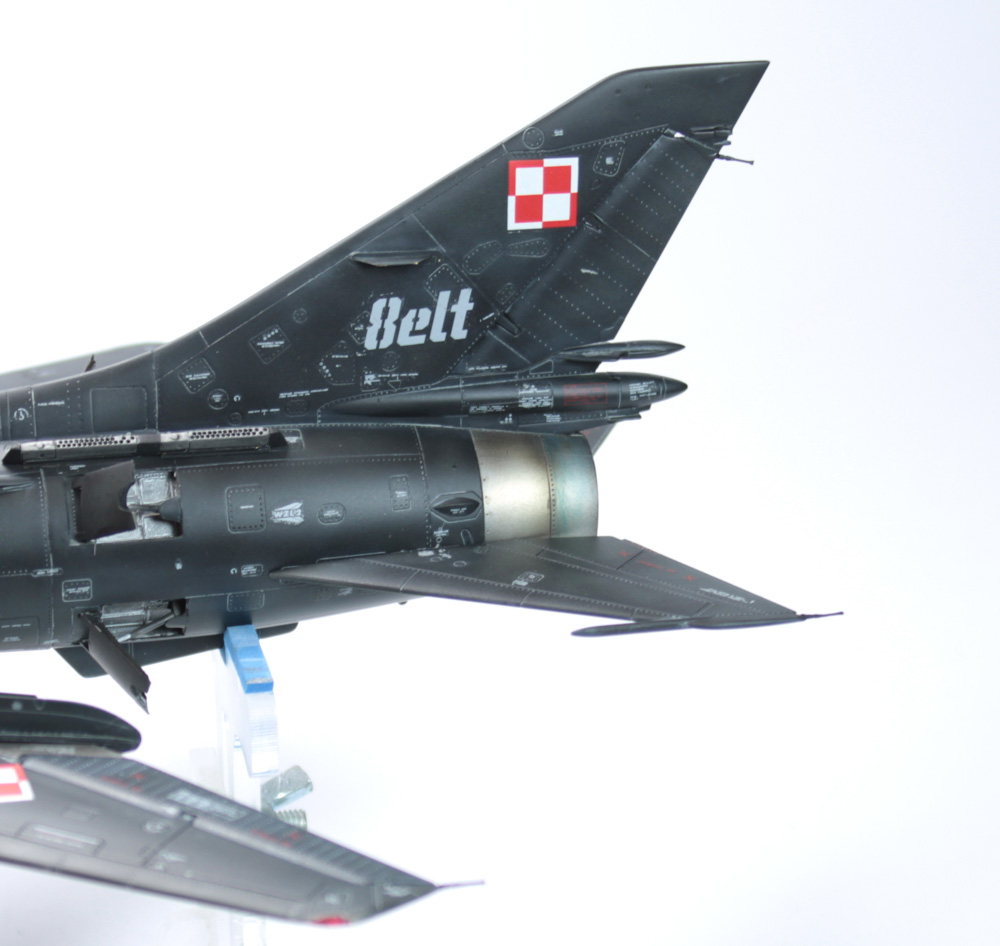
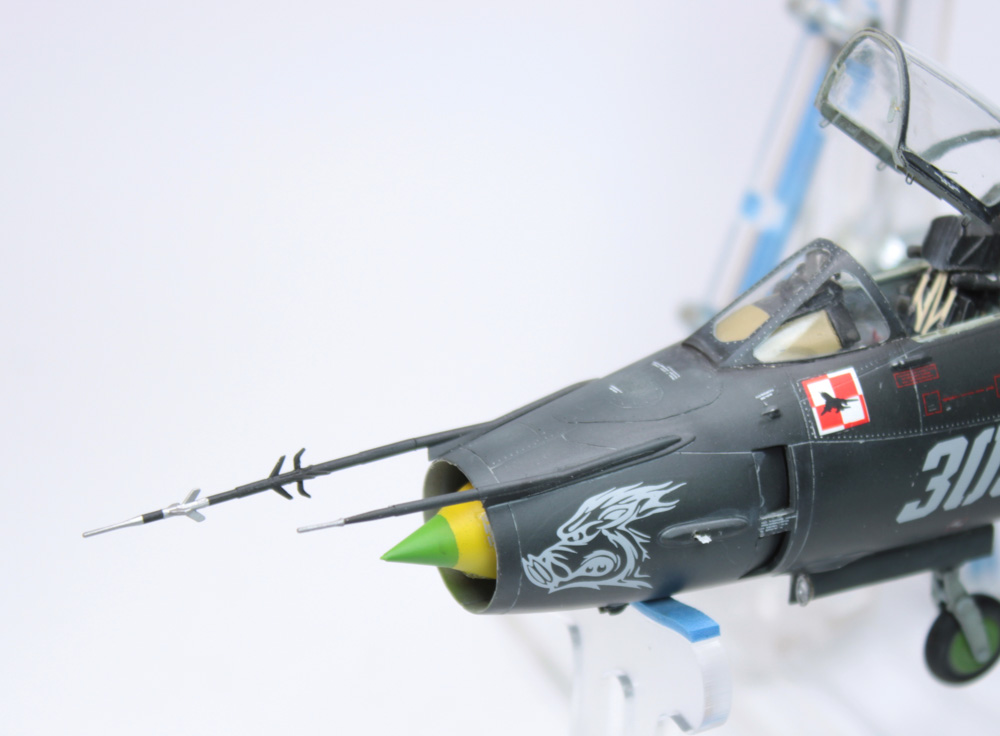
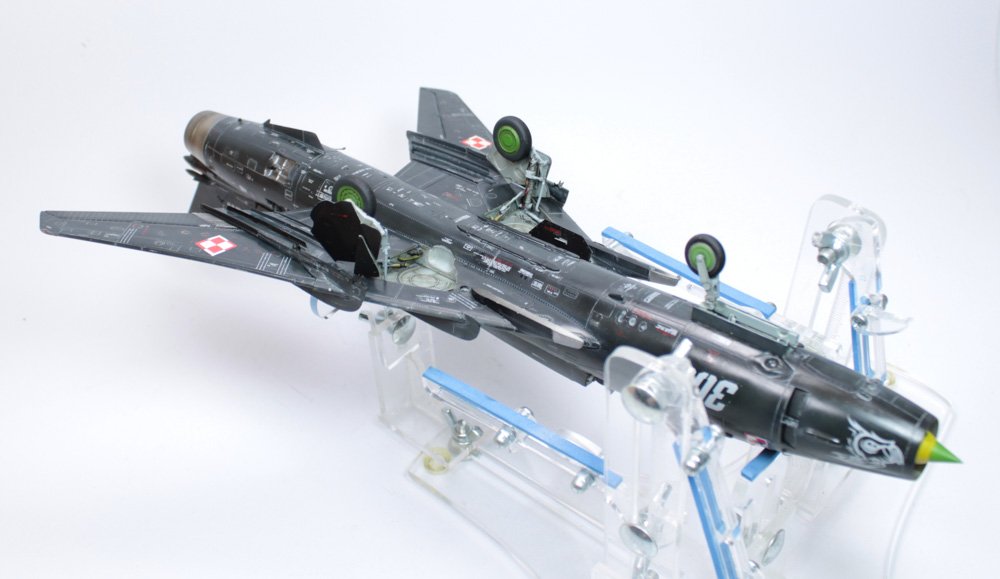
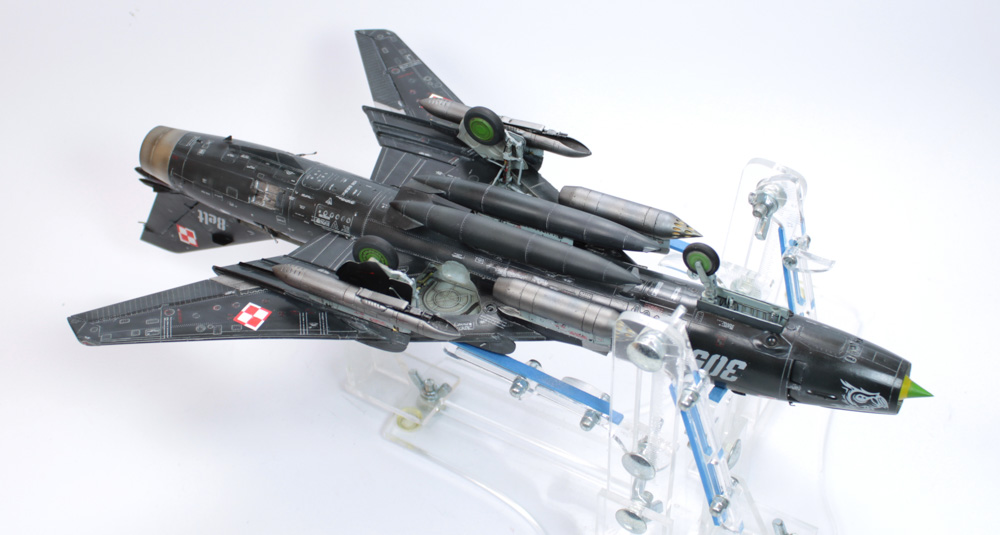
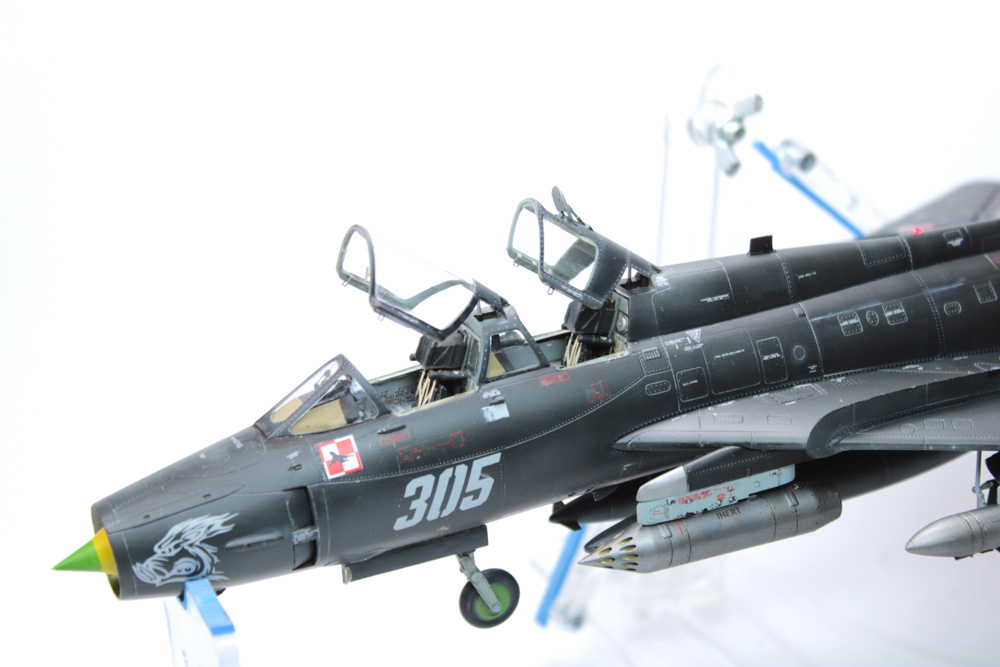
…and this beautiful Su-22 was ready!

As you can see, the KittyHawk set gives us an opportunity to build a very nice and good looking Su-22UM-3K miniature.
I think that even without using Eduard detail sets the final result will be more than pleasing!
There's no rose without thorns however - this is not the simplest and easiest model kit to build and there is a certain amount of work needed to get it done nicely, but it's well worth it to invest this time to include this nice kit into our collection!
Cheers!
Piotr „Słoma” Słomiński
To see more pictures of the finished model, visit the gallery!